Capturing Check Images (RDC)
Learn how to effectively capture check images for Remote Deposit Capture (RDC) to streamline your banking process.
Table of Contents
Overview
Remote Deposit Capture (RDC) allows you to scan physical checks using a compatible check scanner and submit digital images for processing inside Biller Genie.
Before scanning your first check, confirm that setup is complete.
Before You Begin
Make sure the following steps have been completed:
- Check Processing is enabled in Biller Genie and your ReliaFund credentials have been entered under the Check Processing Add-On.
- RDC is installed and linked to the Check Scanning software.
- Your MagTek check scanner has been ordered and properly connected.
If these steps have not been completed, refer to:
Best Practices Before Scanning
To prevent scanning errors:
- Ensure the check is free of staples, tape, folds, or major damage.
- Verify the check is fully legible.
- Confirm the amount written matches the intended deposit.
How To Capture Check Images
Step 1
Insert the check into the scanner:
- Right side up
- Front of the check facing the inside of the scanner
Step 2
Open the Biller Genie Check Scanning application.
Enter the dollar amount of the check in the amount field.
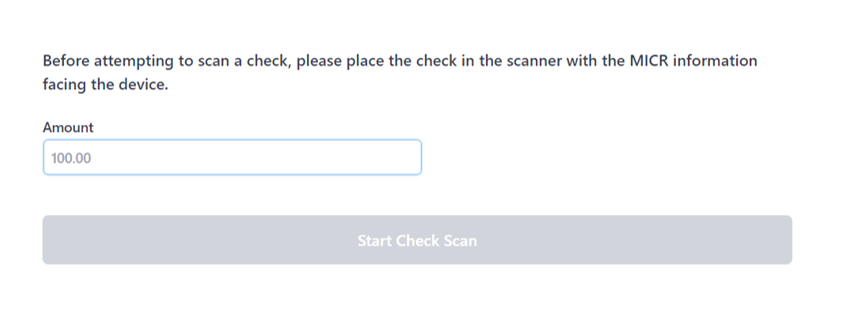
Step 3
Click Start Check Scan.
If the scan is successful, you will see a confirmation message at the top of the screen.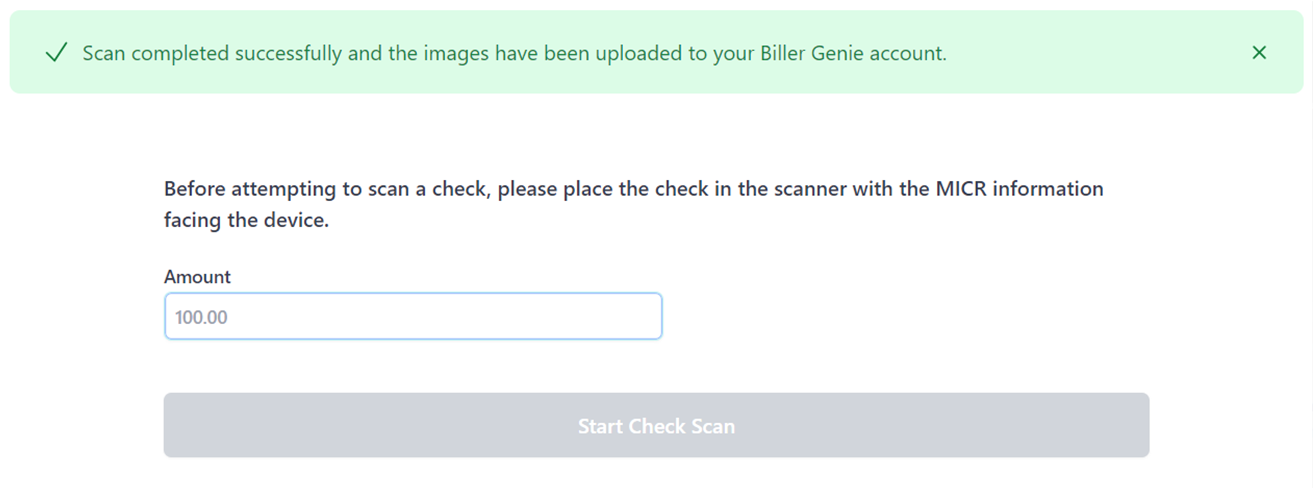
Step 4
Repeat the process until all checks have been scanned.
Next Step: Process the Check
Once all check images have been captured, follow this guide to apply the payment:
Still Having Trouble?
If checks are not scanning correctly, contact the Biller Genie support team at support@billergenie.com and include the following details:
- Confirmation that RDC is installed and linked
- Scanner model (MagTek)
- Any error messages displayed
- Whether the issue occurs with all checks or only certain checks
Providing this information will help our support team assist you as efficiently as possible.