
Overview
Remote Deposit Capture (RDC) allows you to scan physical checks using a compatible check scanner and submit digital images for processing.
This article walks through installing and connecting RDC within Biller Genie.
Before You Begin
Before installing RDC, you must order the required check scanner.
Visit:
checkreader.billergenie.com
The RDC software requires a compatible MagTek check scanner.
How To Install RDC
Step 1
Log in to your Biller Genie account.
Navigate to:
Add-Ons Marketplace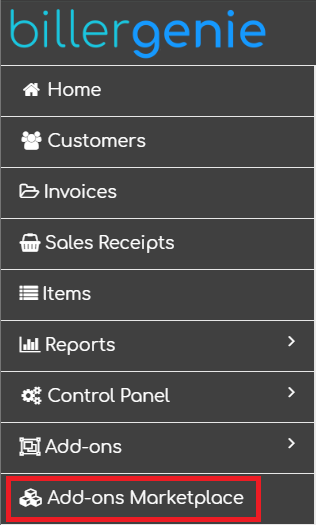
Step 2
Select the Payments category
or
search for “RDC”.
Click the RDC tile.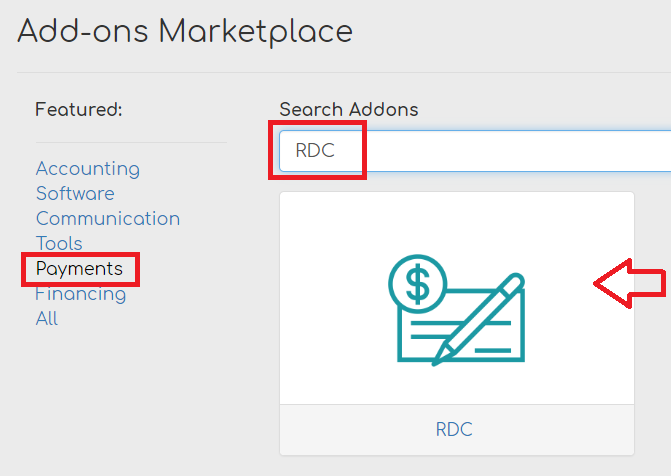
Step 3
Click Install.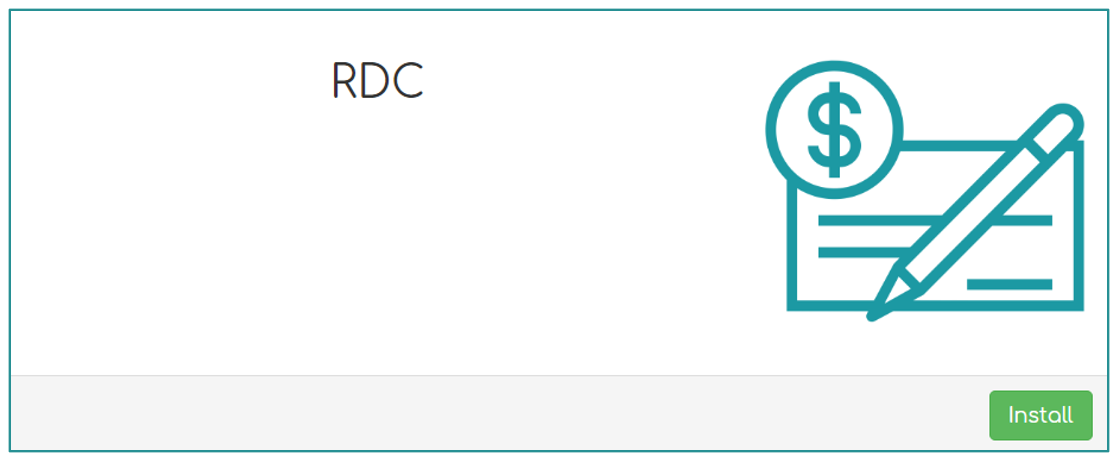
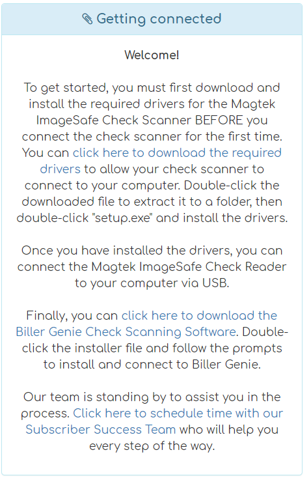
Step 4
Follow the on-screen instructions to complete the required setup steps.
These steps must be completed in order:
- Download and install the check scanner drivers
- Connect the MagTek check scanner to the computer
- Download and install the Biller Genie Check Scanning Software
Step 5
Once installation is complete, a Connection Code will display inside the RDC Add-On.
Enter this code into the Check Scanning software to connect the device to your Biller Genie account.
Additional Users
If multiple users need access to upload check images, the same Connection Code can be used on multiple devices.
Still Having Trouble?
If RDC is not connecting or scanning properly, contact the Biller Genie support team at support@billergenie.com and include the following details:
- Confirmation that drivers were installed
- The model of your check scanner
- The connection code (if available)
- Any error messages displayed
Providing this information will help our support team assist you as efficiently as possible.