Using Paper Mail
Table of Contents
After you’ve set up paper mail, you can begin using this powerful feature.
Navigate to Add Ons and click Paper Mail.
Paper Mail Dashboard
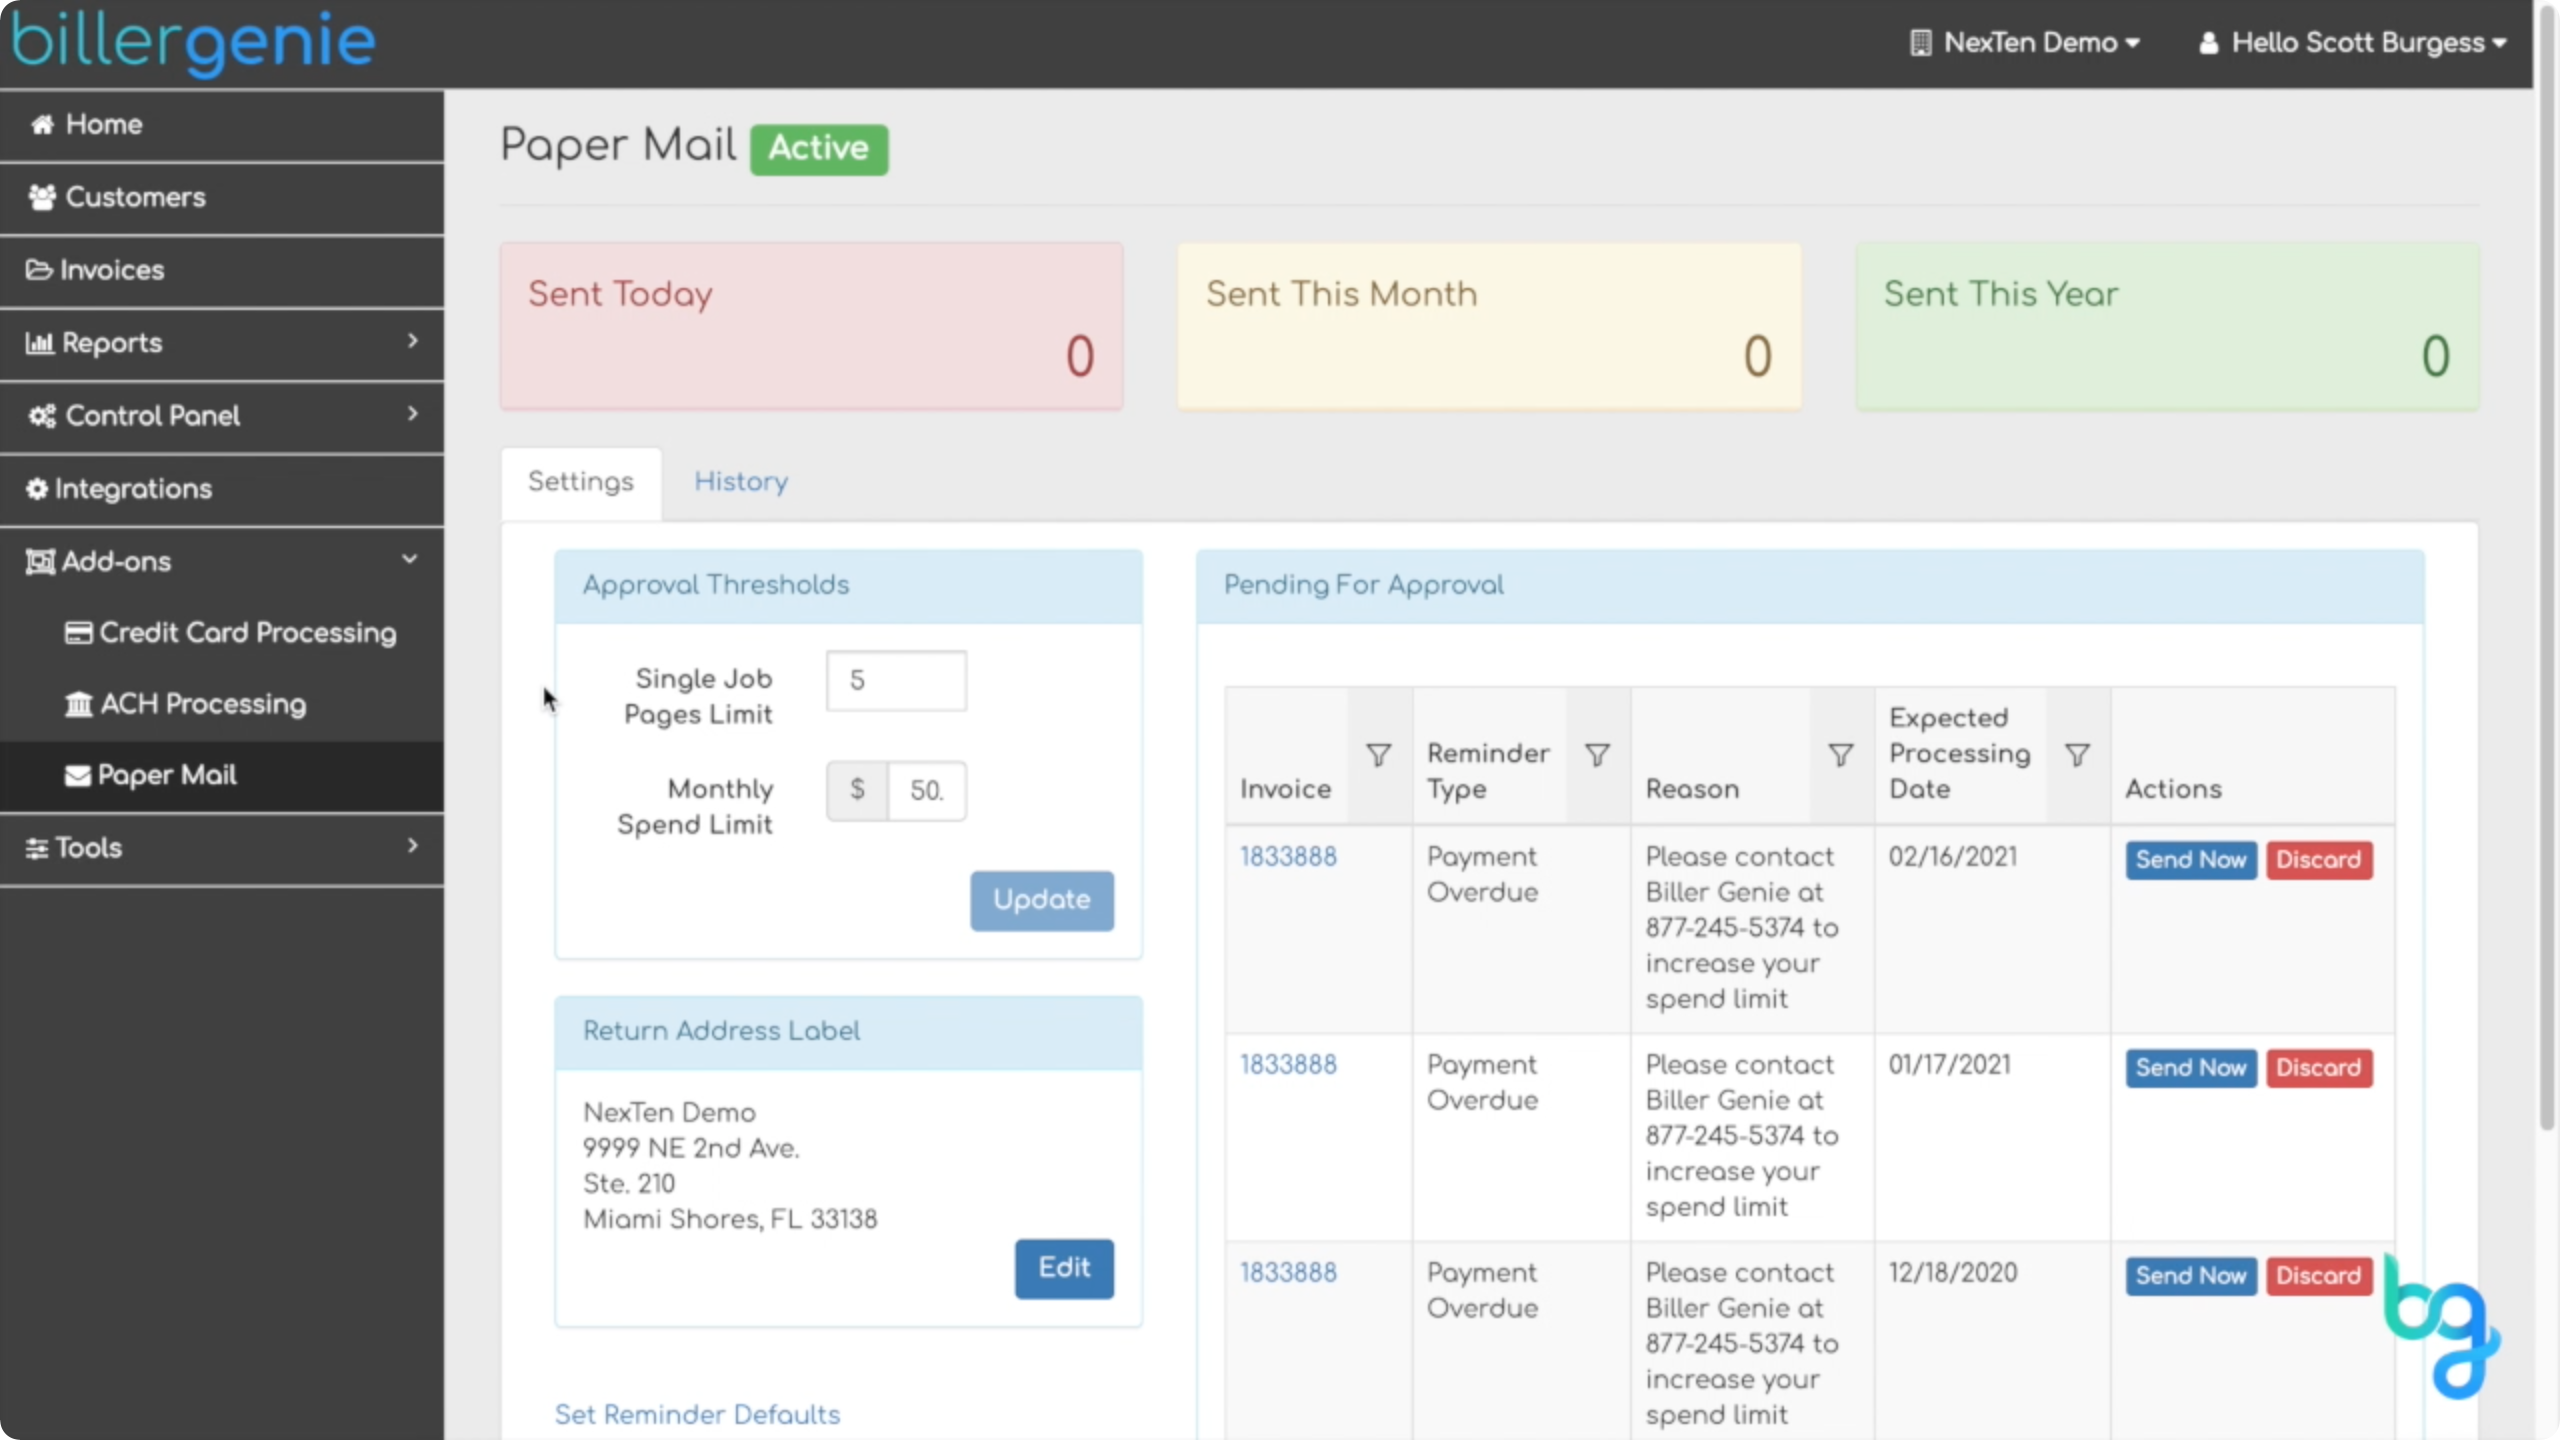
On the Paper Mail Dashboard, you can see an overview of which paper reminders were sent today, this month and this year.

Paper Mail Settings
You can customize your paper mail settings under the settings tab. Here you can limit the number of pages allowed in a single print job or set your monthly spending limit. Be sure to click the Update button to save your new settings.
You can also change your return address label by clicking the edit button. Be sure to click the update button to save any changes.
If there are any other issues with paper mail, you can view them under pending for approval, where you can choose to send or discard.
Viewing Paper Mail History
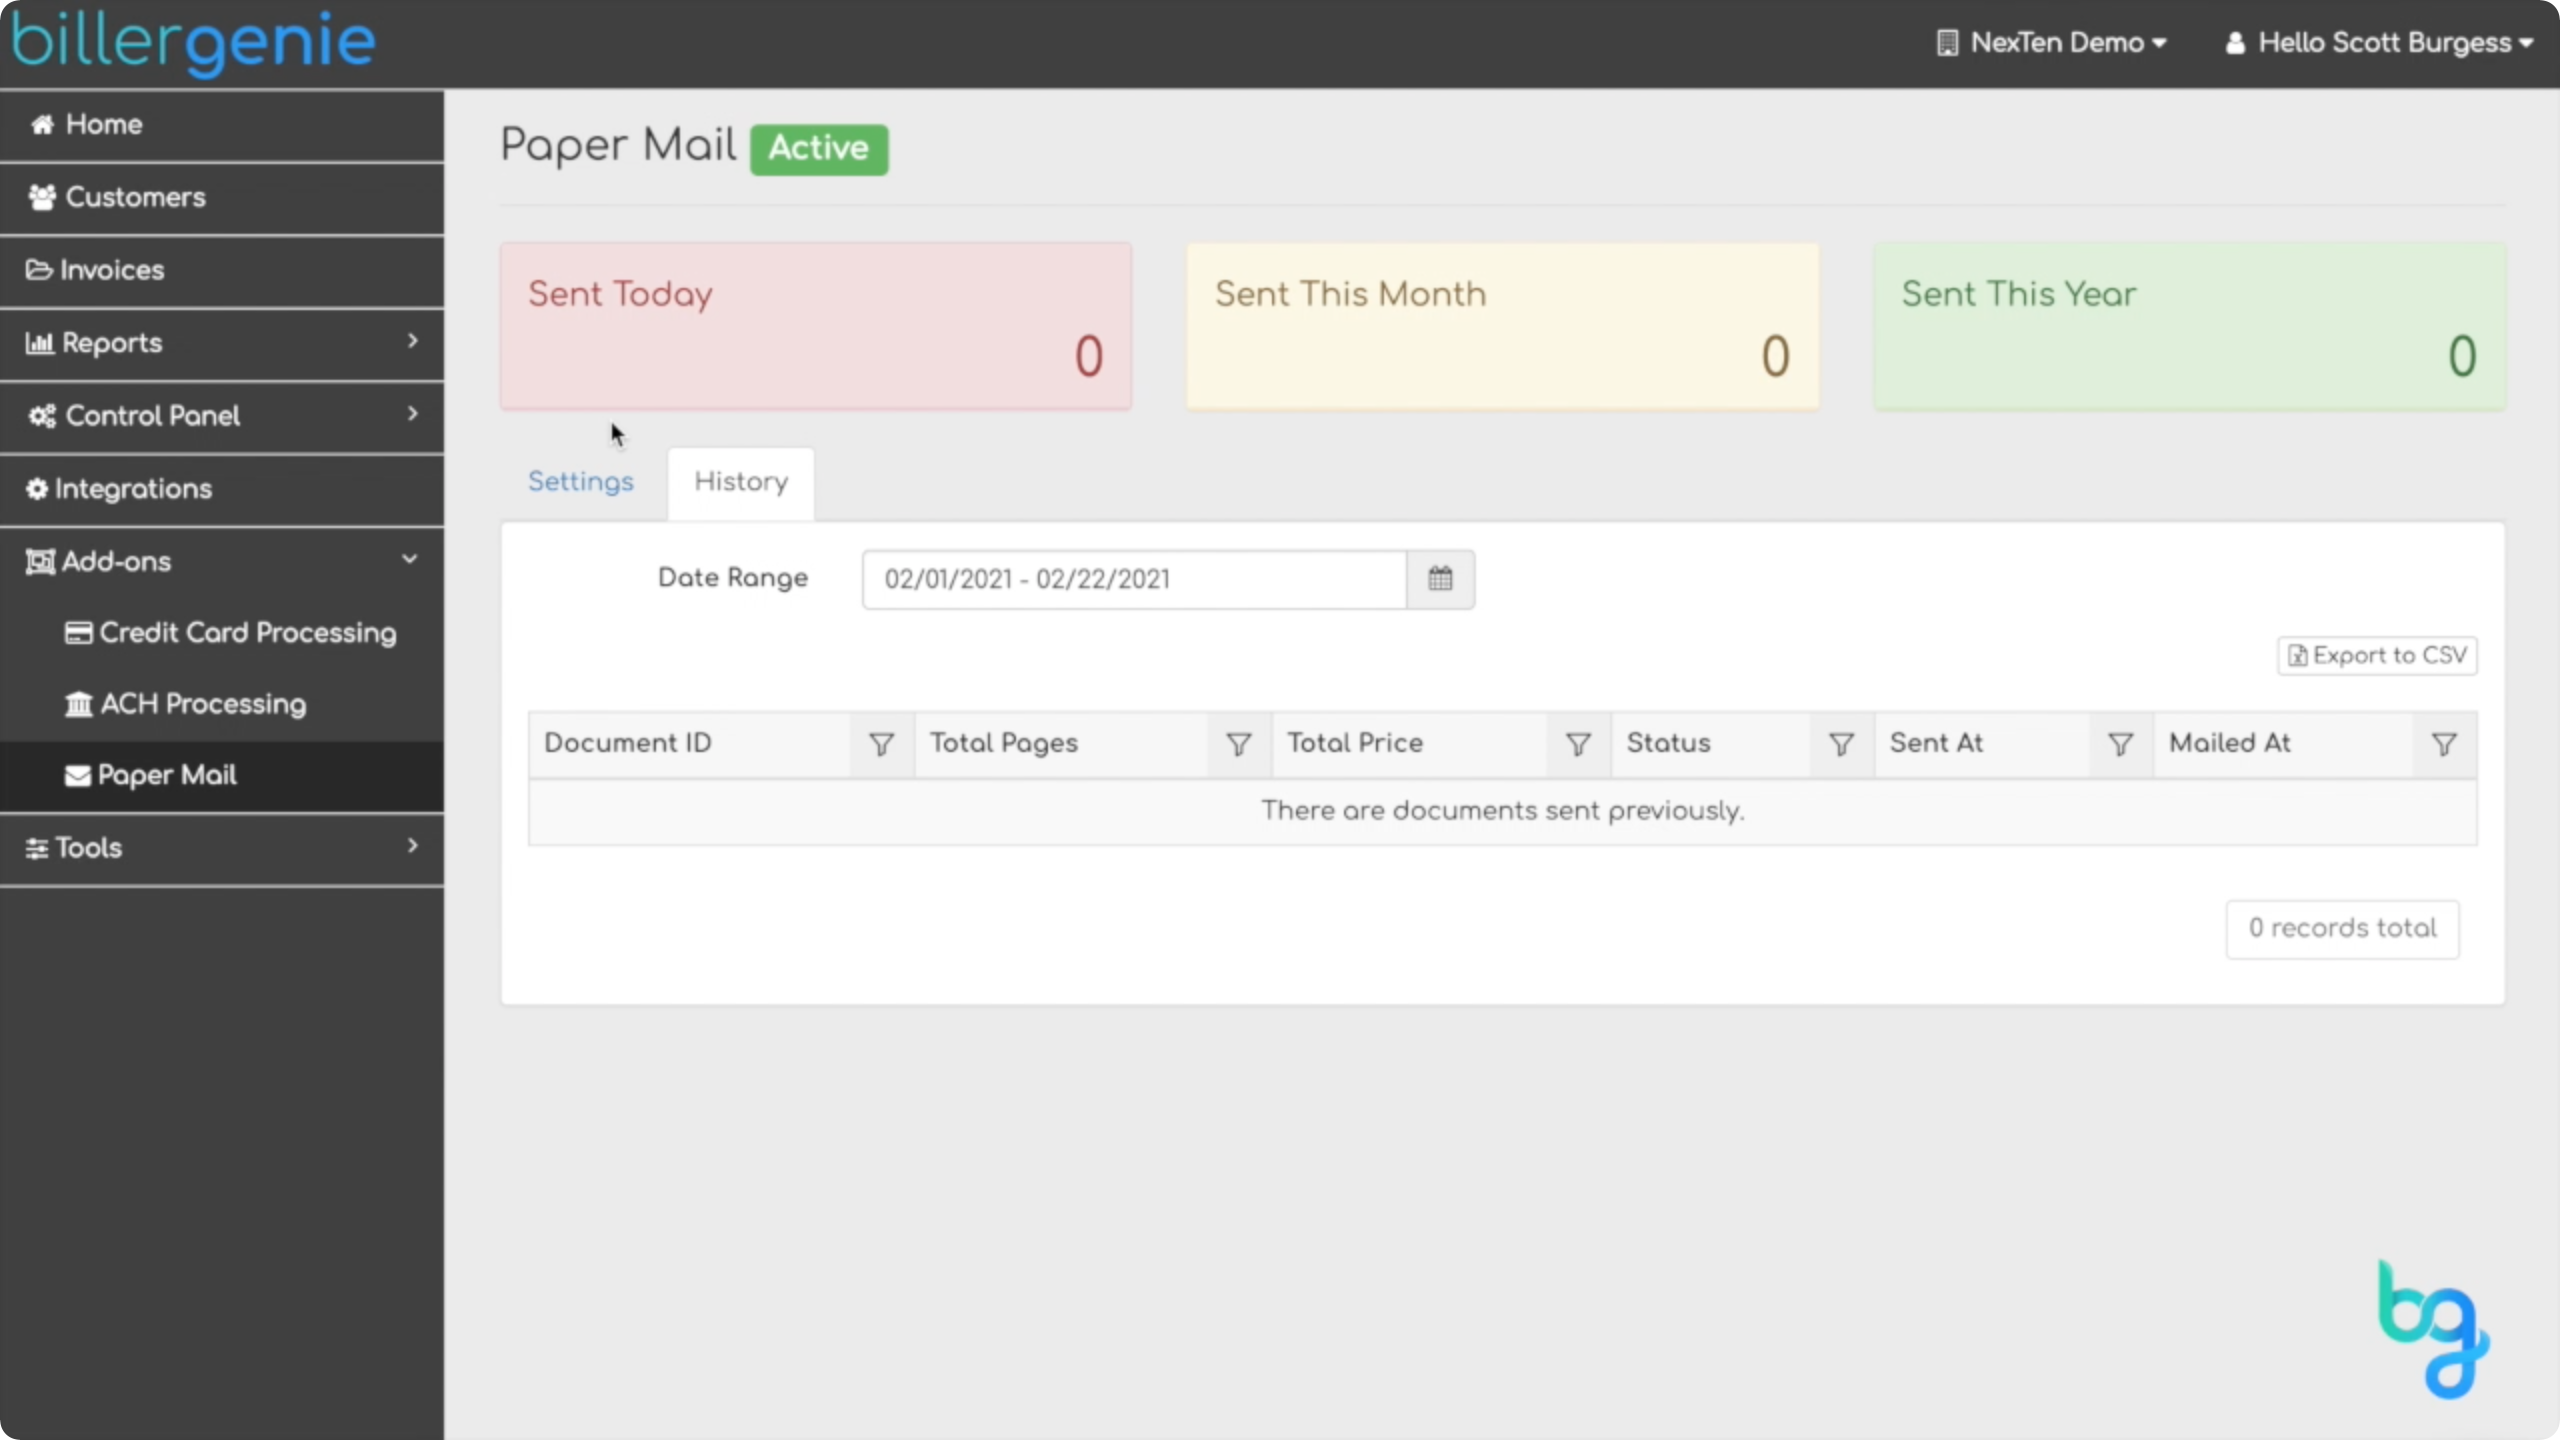
To view your paper mail history, click the History tab.

Paper Mail Reminders Defaults
You can also choose which reminders are sent via paper mail by clicking the blue Set Reminder Defaults link. On this page, the right column gives you complete control over your paper mail messaging. Simply click the toggle from off to on next to the paper reminder you would like to send.

Once you have made your selections, you can either save them as defaults for new customers or save and apply to existing customers. After you choose a way to save, a pop-up will ask you to confirm. Click save.
Paper Mail Conflicts
Before any paper reminders are sent, The Genie verifies your customer's addresses with the United States Postal Service ensuring the highest deliverability rates. To view conflicts with the addresses on file, from the main menu, navigate to Reports, and select Paper Mail Conflicts.
Here you can confirm the address is correct for your customer or select the address the Postal Service suggests.
