Adding Custom Fields
Table of Contents
You can add custom fields in Biller Genie to your payment pages for your customers.
These fields get added to any page where payment is taken. It allows you to have additional information provided whenever a transaction is run by either yourself or your customer.
Step 1
Go to Add-Ons > Custom Fields.
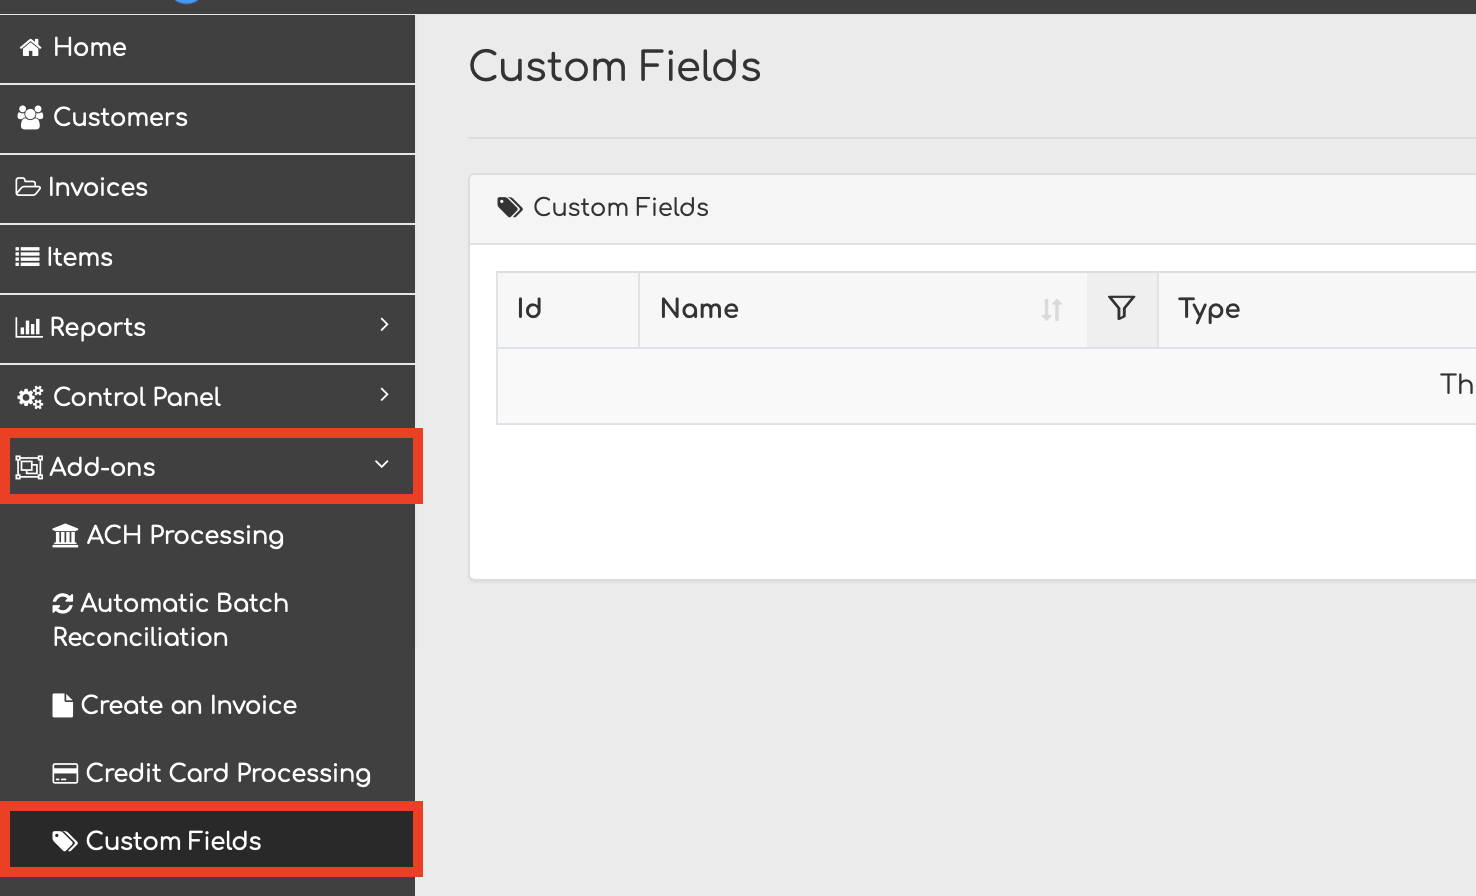
If Custom Fields is not present, you can add the feature under Add-Ons Marketplace
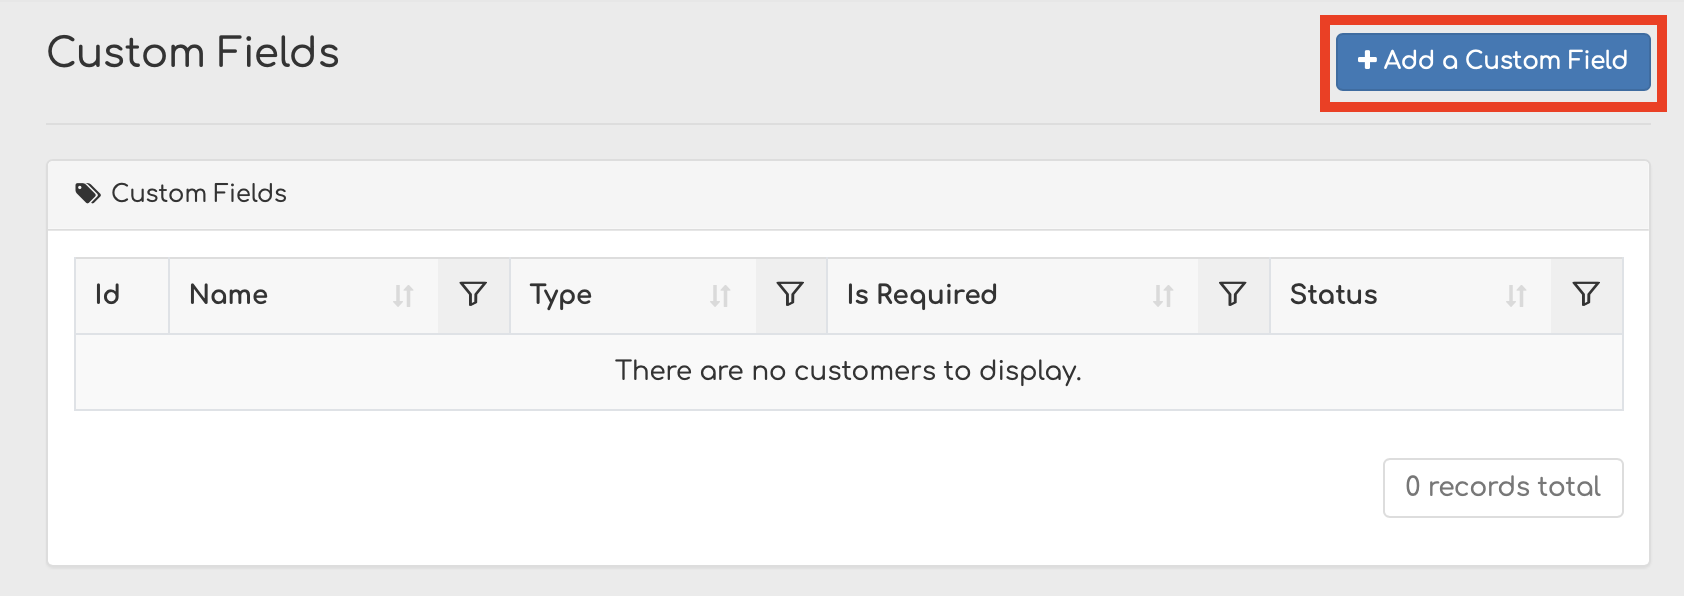
Step 2
Click the Add a Custom Field button
Step 3
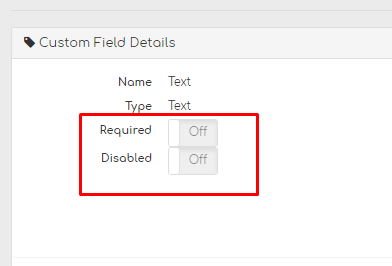
Fill out the Custom Field Details (Name, Type, and Is Required)
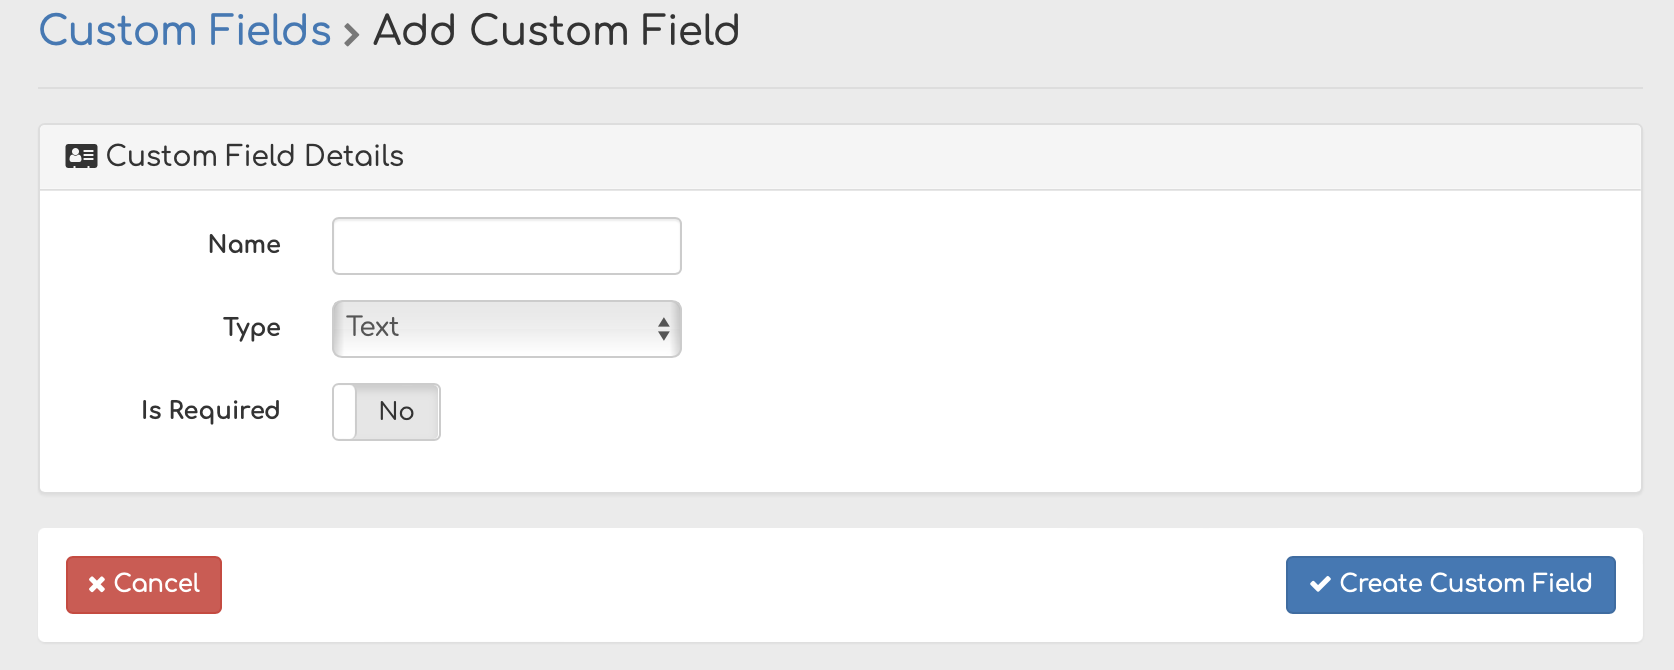
Note: There are three "types" of customer fields
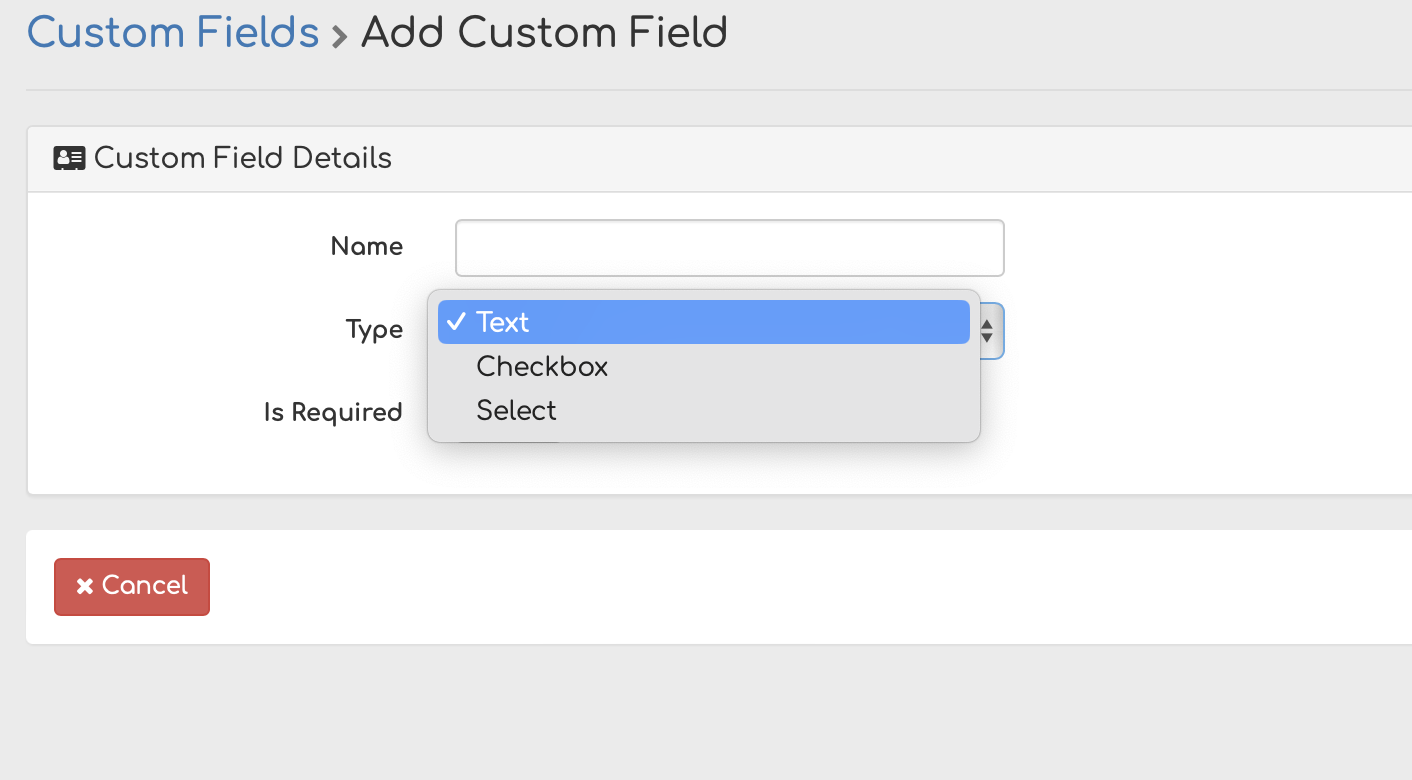
- Text is a text field of additional informatio.
- Checkbox is a single select item
- Select is Similar to a checkbox but is a customized multi-select
Step 4
You can choose to make an input for these fields required or disabled.
Step 5
Click Create Custom Field

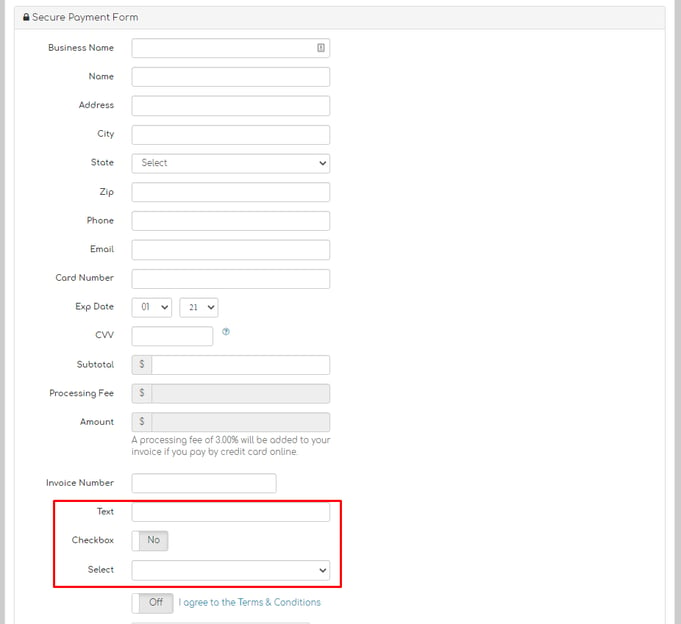
This is how the custom fields appear on the Hosted Payment Page.
If you want to make it required that your custom fields be filled out every time a payment is made, you can do the following:
Step 1
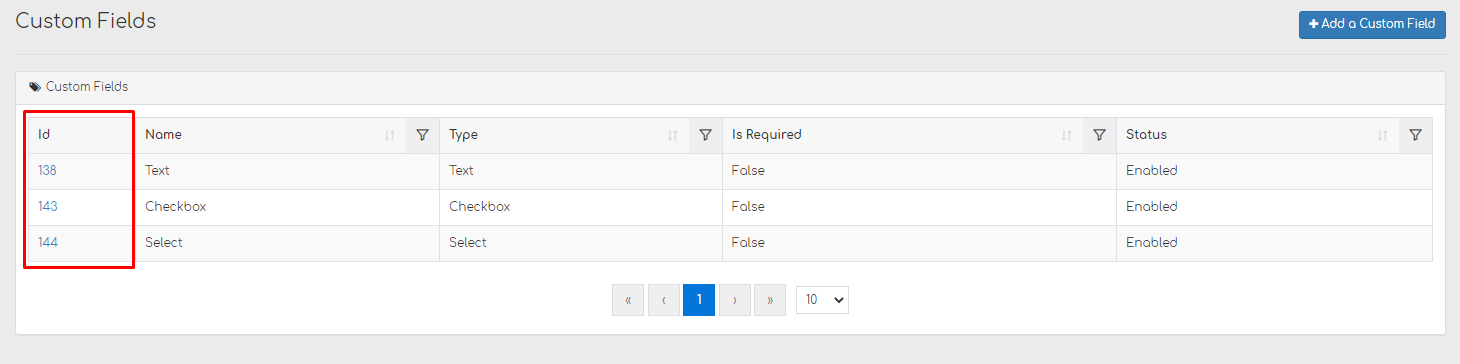
Go to Tools > Custom Fields
Step 2
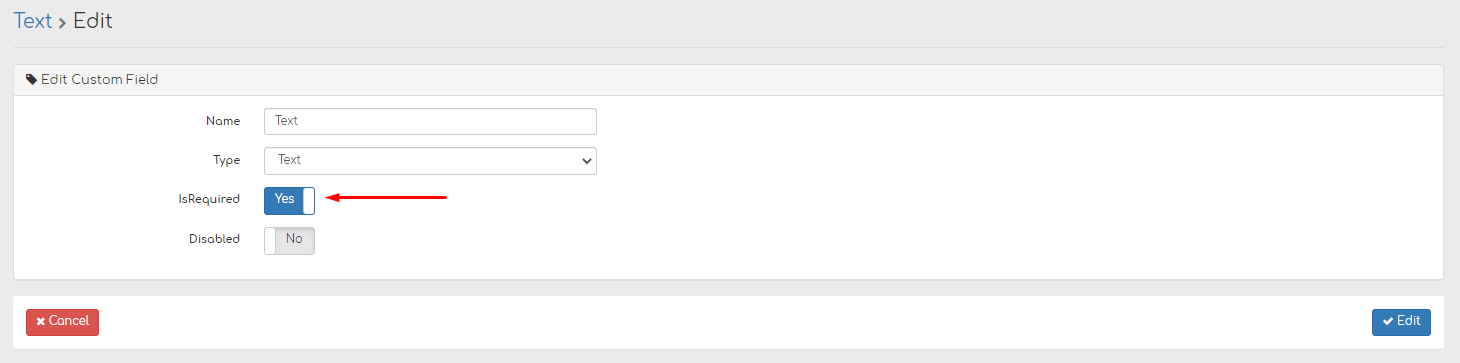
Click the Id of the custom field you want to make required
Step 3
Click Edit
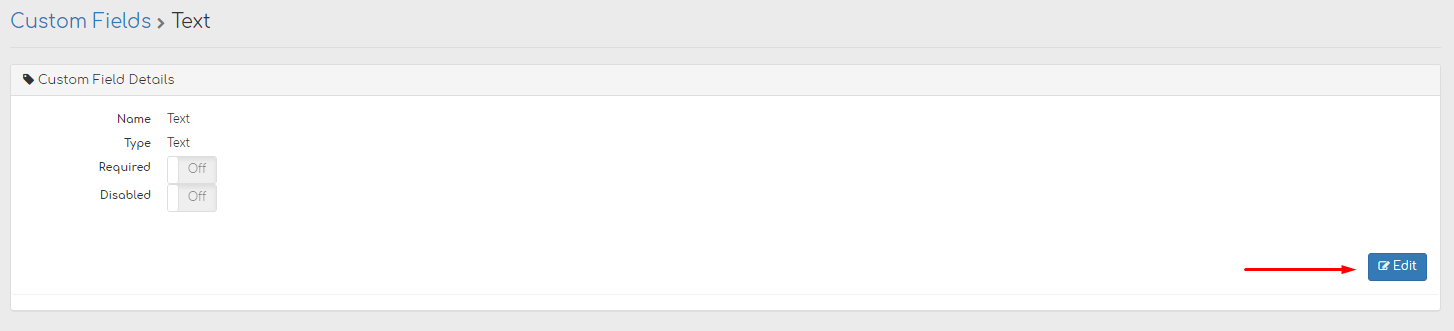
Step 4
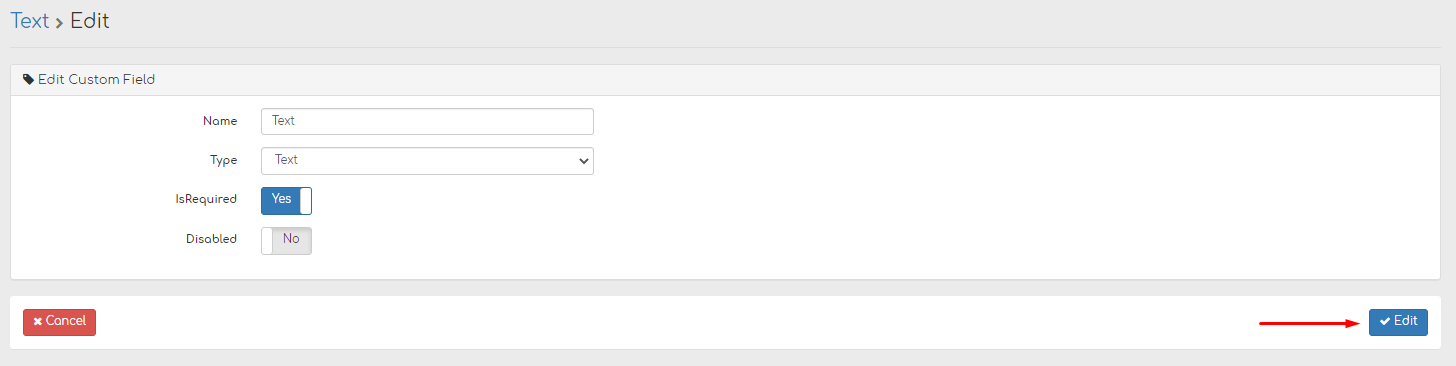
Switch Is Required to Yes
Step 5
Click Edit to Save
Now any payments made on the account will require this custom field to be filled out.