Customer Portal Sign Up
Table of Contents
Signing up for the customer portal is easy & only takes few simple steps.
Step 1 - Find Email Invite
Locate the Welcome email from noreply@billergenie.com and click "Click here to reset your username and password.” This will open a page where you can create your account.

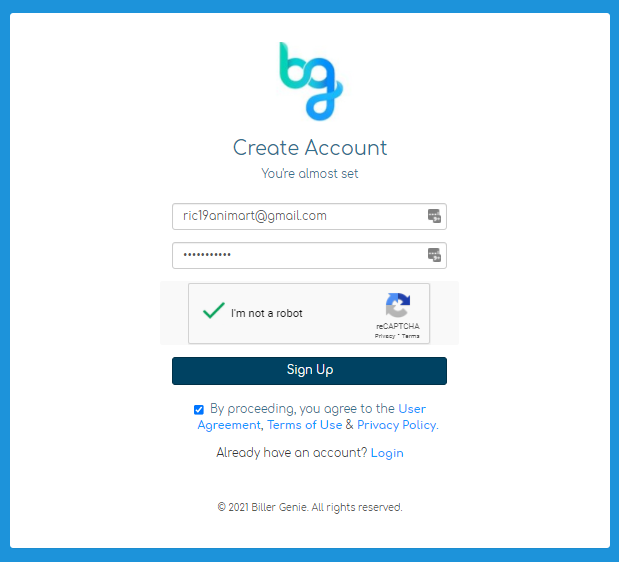
Step 2 - Create Username and Password
Enter your email address and a password. Once entered click “Sign Up.”
Note: The email address provided must be the same one to which the Welcome Email was sent
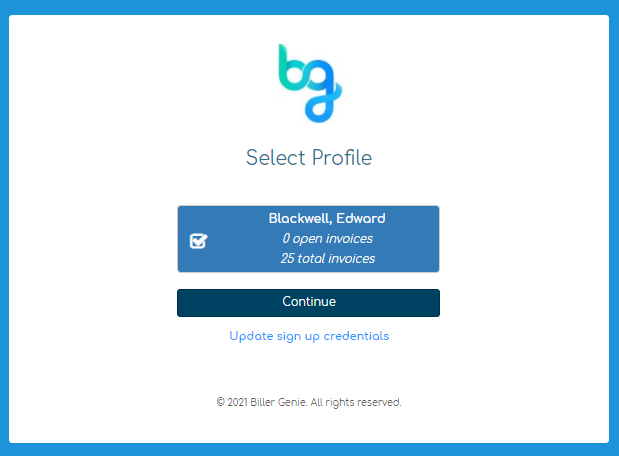
Step 3 - Choose Customer Profile
You’ll then be directed to a page where you will select the customer profile you want to sign up for. Select the profile and click “Continue.”
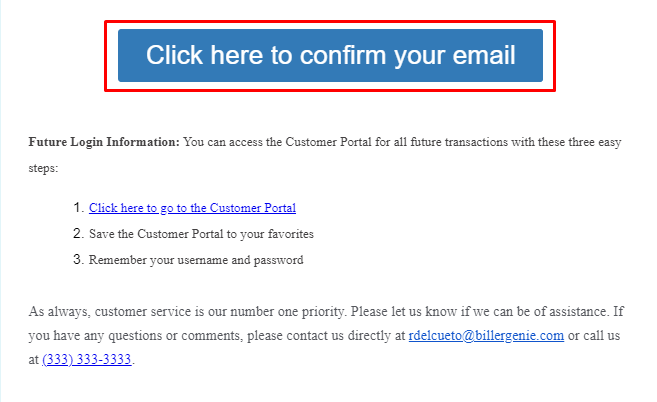
Step 4 - Confirm Email Address
A confirmation email will be sent to your inbox. Locate the confirmation email and click “Click here to confirm your email."
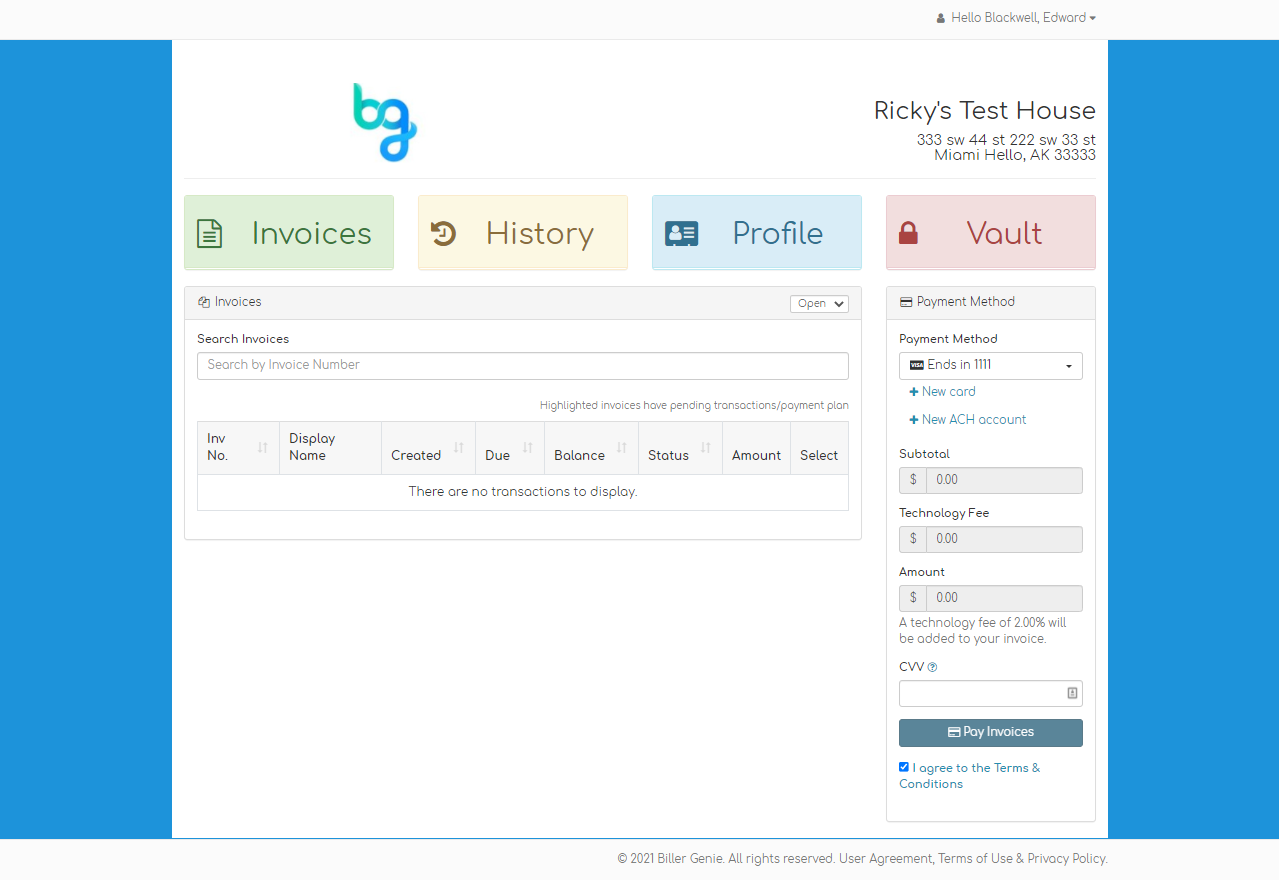
Step 5 - Accept and Begin Using
After confirming your email, you will be taken to the Customer Portal User Agreement. Click “I Accept.”
Upon clicking “I Accept,” you’ll be immediately logged into your customer portal account.
Customer having trouble signing in? Check out this article on Customer Portal: Troubleshooting