
Branded invoices and reminders build trust with your customers — they recognize the email as legitimate, recognize your logo and color, and are more likely to act on it. Biller Genie's branding takes about five minutes to set up: upload one to two logos, pick a Site Primary Color, and you're done. Branding applies everywhere your customers see Biller Genie: invoices, email reminders, the customer portal, the hosted payment page, and the mobile receipt.
All branding lives at Control Panel > Branding.
Three logo slots: Wide, Square, and Icon
Biller Genie has three logo slots, each used in different places. You don't have to upload all three — Wide is the most-used and the bare minimum. Upload Square if your logo doesn't work in a wide aspect ratio, and Icon if you use the Biller Genie mobile app.
| Slot | Recommended dimensions | Where it shows up |
|---|---|---|
| Wide Logo | 500 × 100 (5:1 ratio), PNG | Invoices, reminder emails, customer portal header, hosted payment page header |
| Square Logo | 500 × 500 (1:1 ratio), PNG | Same places as Wide, when you select "Use Square" in the logo preference setting (good if your real-world logo is more circular or square than rectangular) |
| Icon Logo | 100 × 100, PNG | Biller Genie mobile app (the icon next to your business name when customers see receipts on phone) |
File format and size tips
- Use PNG. JPEGs work but PNG keeps a transparent background, which looks better on the colored email and portal headers.
- Match the recommended dimensions. The Branding page has a built-in cropper, but starting with a correctly-sized file gives the best result. If your logo is wider than 5:1 (very narrow), letterbox it on the sides; if it's narrower, letterbox the top and bottom.
- White or light backgrounds work best. The email and portal headers are light-colored. A dark logo on a transparent background is the safest combination.
- Keep file size reasonable. Under 200 KB is plenty — bigger files slow down email opens and the portal.
Uploading a logo
Step 1. Navigate to Control Panel > Branding.
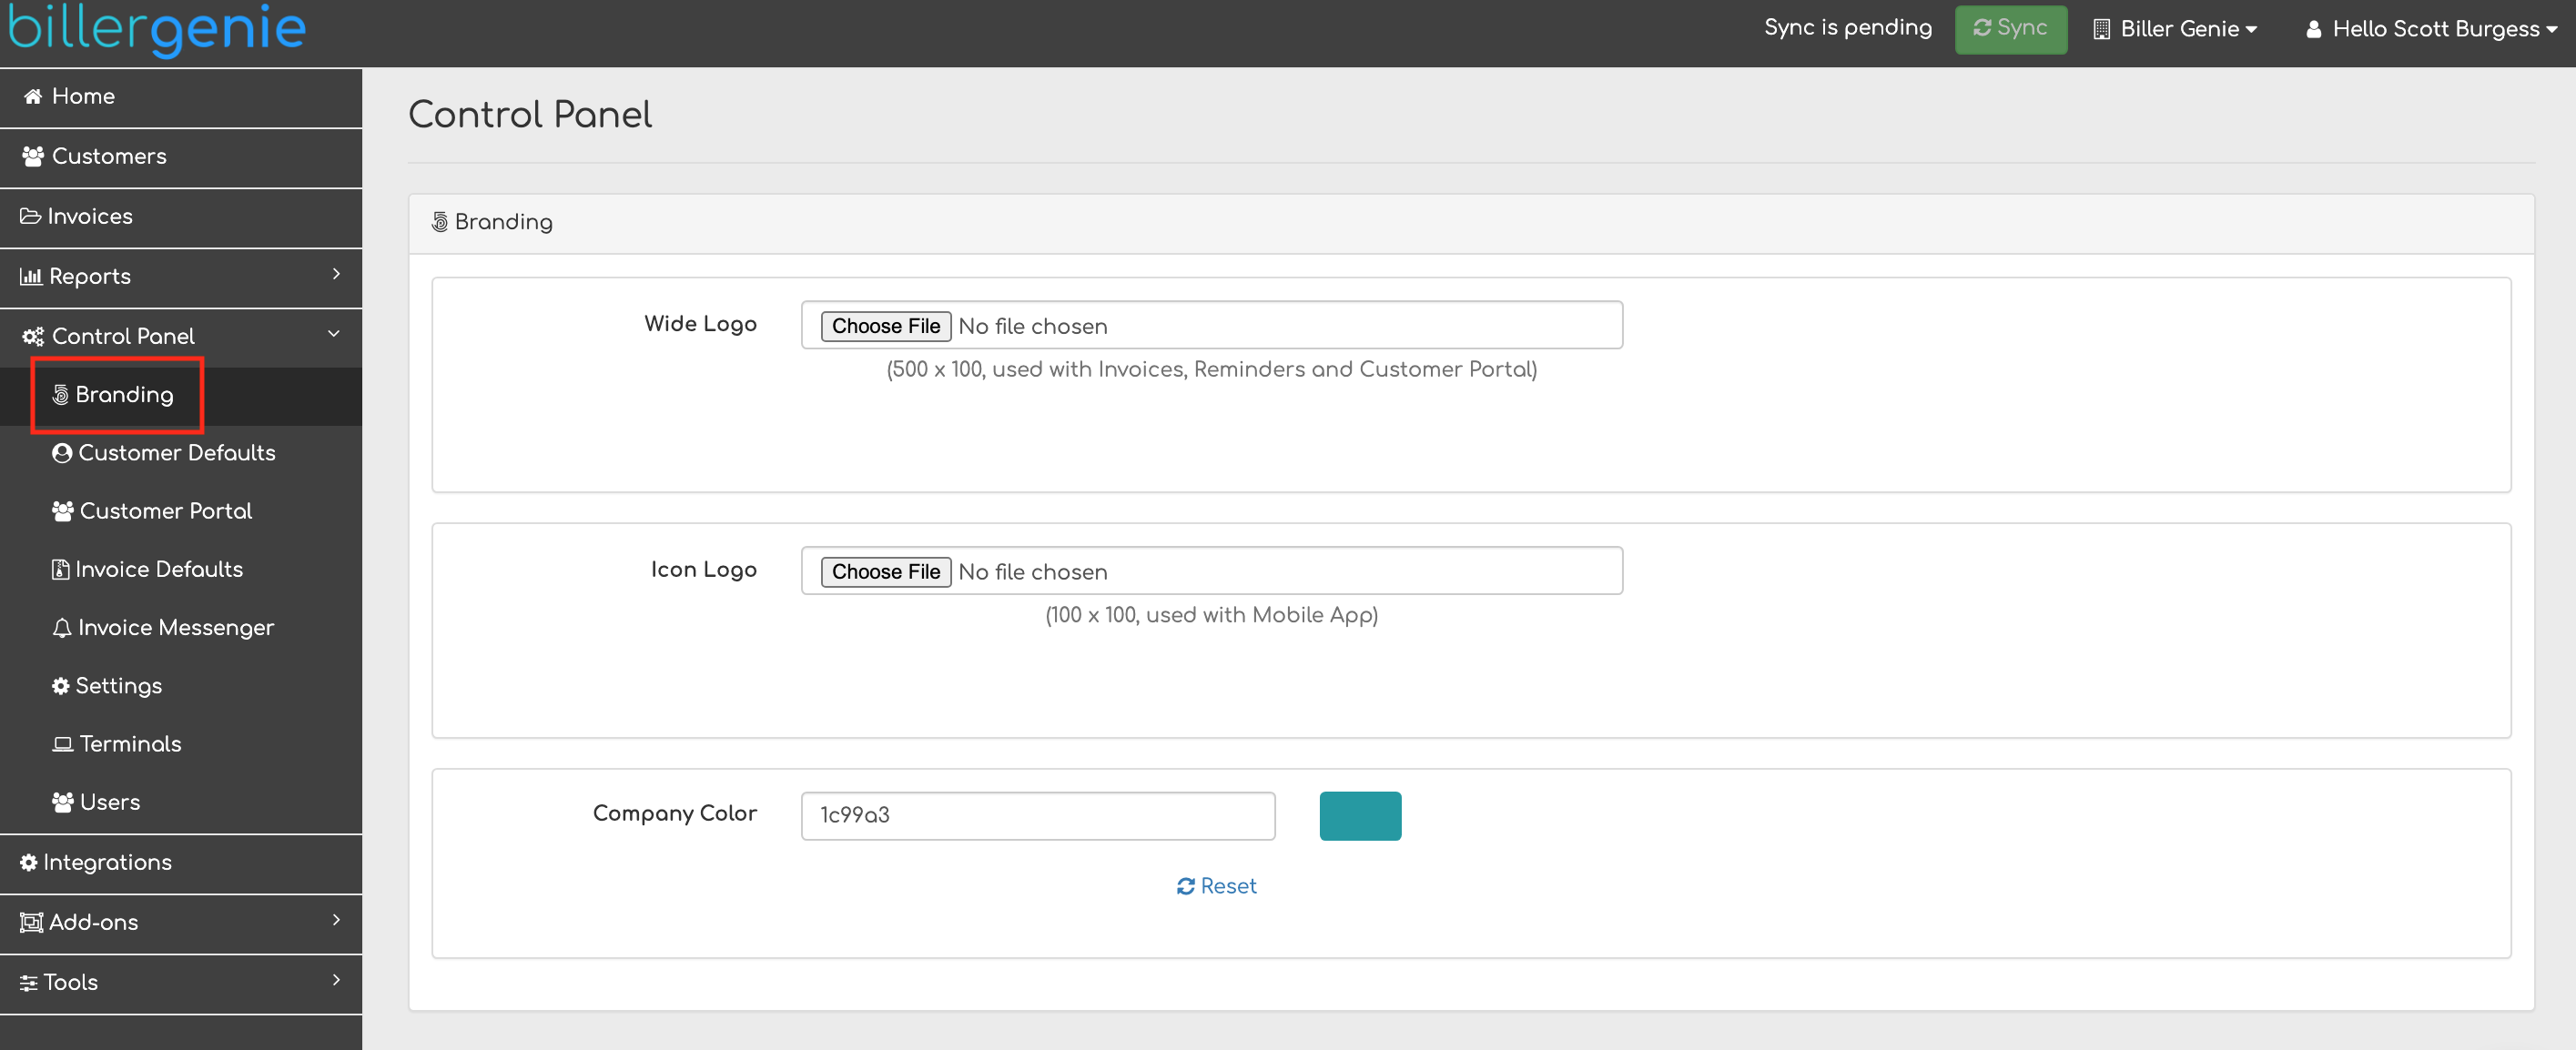
Step 2. Under the slot you want to fill (Wide / Square / Icon), click Choose File and pick your image.

Step 3. Use the slider to crop and fit the logo inside the preview box, then click Upload. The logo applies immediately — refresh a customer portal tab in another window to see it live.

Logo preference: Wide or Square?
If you've uploaded both a Wide and a Square logo, the Logo Preference setting on the Branding page lets you pick which one Biller Genie uses for invoices, reminders, the customer portal, and the hosted payment page.
- Wide (default) — good for most modern logos, especially text-heavy ones.
- Square — good if your logo is a circular badge, a monogram, or a stacked design that doesn't read well at 5:1 aspect ratio.
The Icon Logo isn't governed by this preference — it's always used in the mobile app regardless.
Site Primary Color
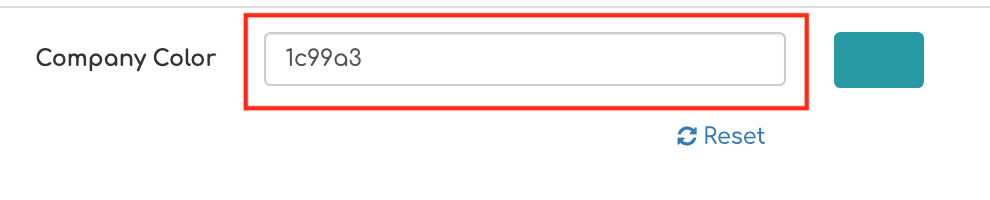
The Site Primary Color is the accent color that shows up on call-to-action buttons (the big Pay Now button on the customer portal), in the email headers on invoice reminders, and in the hosted payment page header.
Step 1. Click the Company Color input field.
Step 2. Pick a color using any of four methods:
- Type the HEX code (e.g.
#265074) — easiest if you already know your brand's color spec. - Enter RGB values.
- Enter HSV values.
- Drag the color picker slider visually.
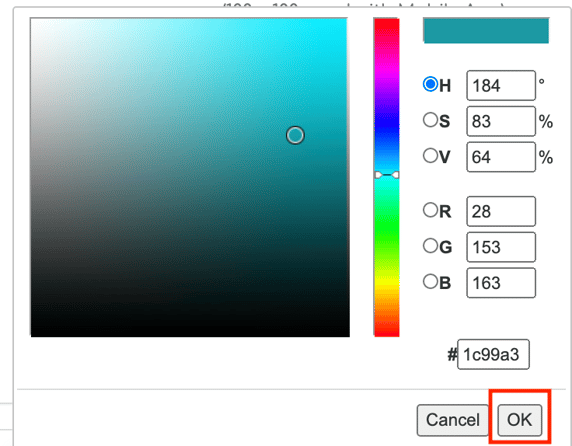
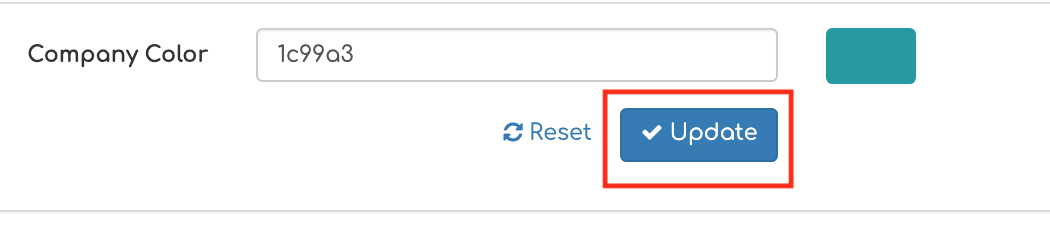
Step 3. Click OK on the picker, then Update on the Branding page to save.
Color tips
- Pick a color with enough contrast against white text. The Pay Now button uses white text on top of your Site Primary Color. Light yellows and pale colors will make the button hard to read. Aim for a medium-dark color.
- Match the color you already use on your website so customers recognize the visual identity. Most websites publish their brand color in a Style Guide or you can pull it from your logo using a free color picker like ColorZilla.
- Don't use red unless your business actually is red-themed. Customers associate red with errors. Most businesses look more trustworthy in a blue, green, teal, or dark neutral.
Where customers actually see your branding
- Invoice PDFs — Wide (or Square) logo at the top of every invoice you send.
- Email reminders — Wide logo in the header bar, Site Primary Color on the Pay Now button.
- Customer Portal — Wide logo top-left on every page, Site Primary Color on action buttons.
- Hosted Payment Page — Wide logo in the header.
- Mobile receipt — Icon logo next to your business name.
- Sender name on emails — that comes from your Invoice Email setting and Custom Email Domain configuration, not Branding. See Custom Email Domains.