
Biller Genie supports two ways to capture check images for electronic deposit: a web-based Mobile Check Capture Add-On that works on a phone, tablet, or desktop browser, and a Remote Deposit Capture (RDC) Add-On that uses a dedicated MagTek check scanner connected to a Windows computer. Both methods produce the same captured-check object, and the processing step that comes after capture is identical regardless of which method you used. This article covers when to pick each one, how to install both, and the day-to-day capture flow for each.
Before installing either method, make sure your account has Check Processing enabled and your ReliaFund credentials connected — see Check Processing Overview if you haven't done that yet.
Which method should you use?
| Mobile Check Capture | Remote Deposit Capture (RDC) | |
|---|---|---|
| Hardware needed | None — uses your phone, tablet, or desktop browser | MagTek check scanner (purchase below) |
| Operating system | Anything with a browser — iOS, Android, Windows, Mac | Windows only (driver + companion app are Windows-native) |
| Capture style | Take a photo with the device camera, or upload a JPEG/TIF image from disk on desktop | Feed checks one at a time through the scanner |
| Best for | Low-to-medium check volume, mobile or remote staff, occasional deposits | High volume, paper-bound back-office workflows, anyone who already has a check scanner |
| Cost | No additional cost (just the Add-On) | One-time scanner purchase + the Add-On |
You can have both installed at the same time. Captured checks from both Add-Ons appear in the same processing queue.
Mobile Check Capture: install
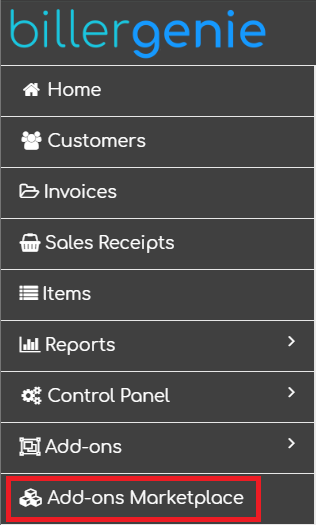
Step 1. Log in to Biller Genie and navigate to the Add-Ons Marketplace.
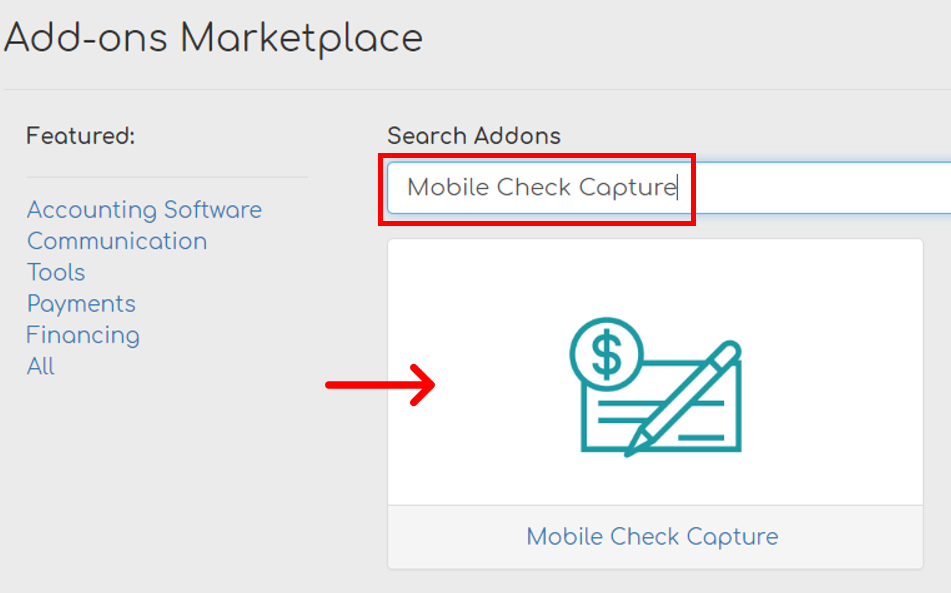
Step 2. Locate and click the Mobile Check Capture tile.
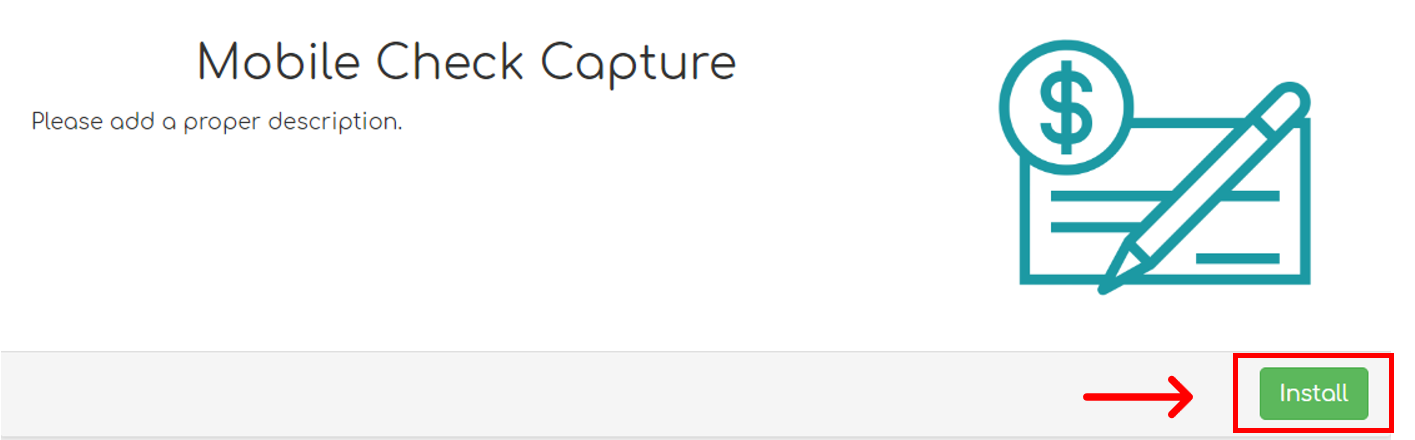
Step 3. Click Install.
That's it. There's nothing to download — Mobile Check Capture runs entirely in your browser. You can capture from a phone, tablet, or desktop. When capturing from a desktop browser, supported image formats are JPEG and TIF.
Mobile Check Capture: capturing a check
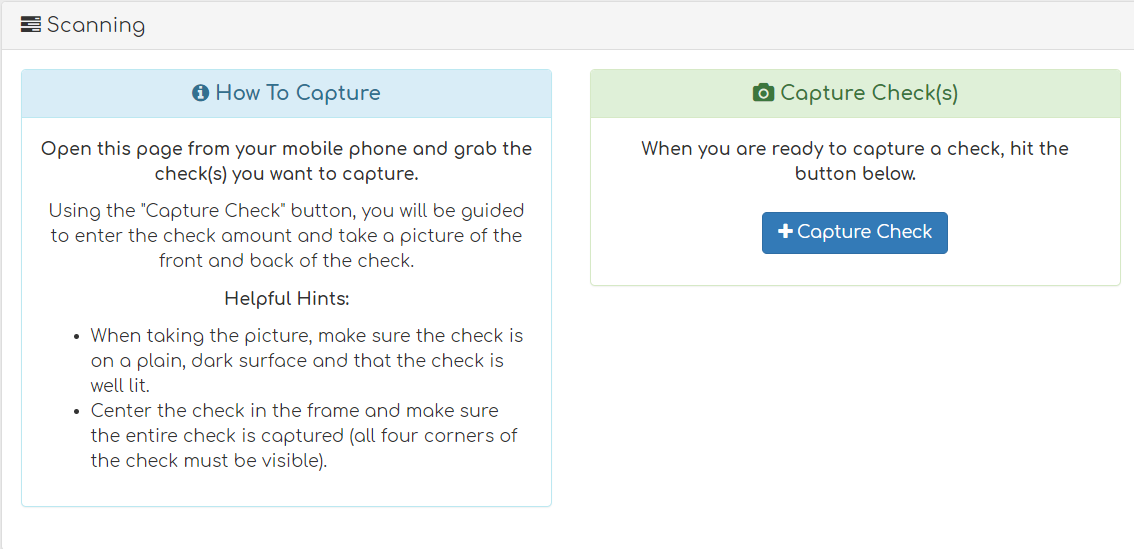
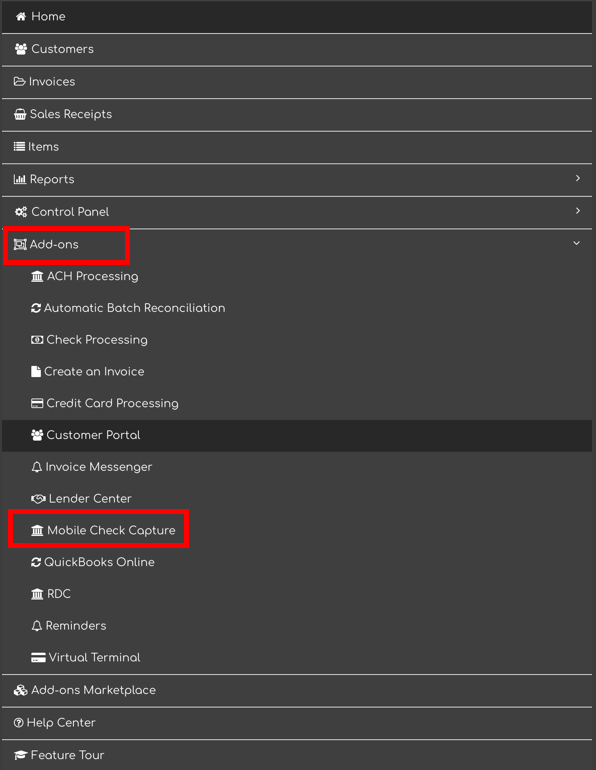
Step 1. On your phone, tablet, or desktop, open the Biller Genie Portal and navigate to Add-Ons > Mobile Check Capture.
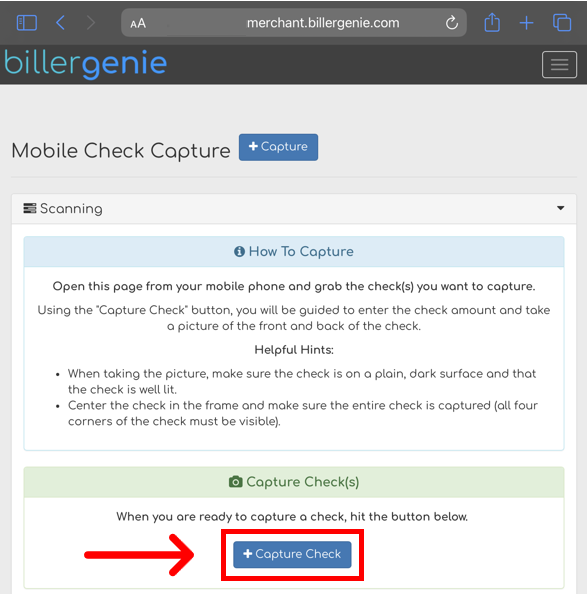
Step 2. Click Capture Check.
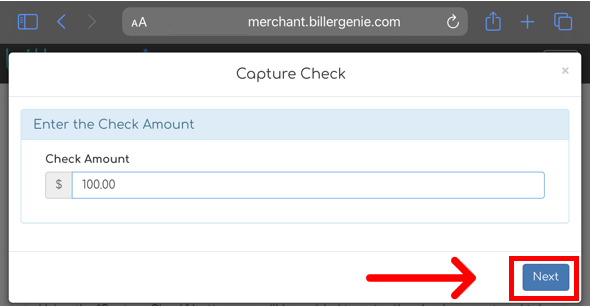
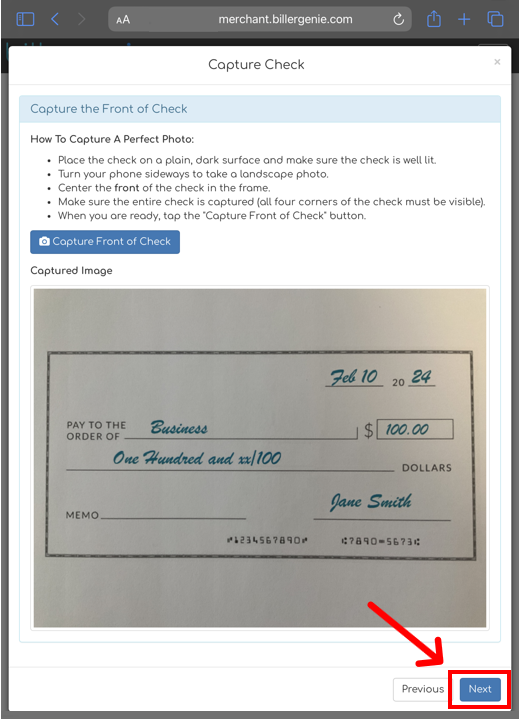
Step 3. Enter the check amount and click Next.
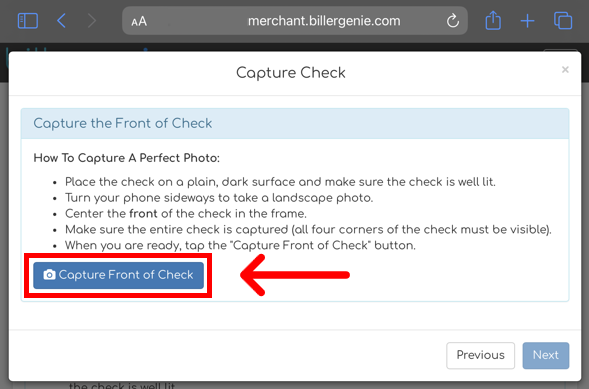
Step 4. Click Capture Front of Check. On mobile, the device's camera opens. On desktop, you're prompted to upload a JPEG or TIF image.
Step 5. If the image is clear and legible, click Next. If not, retake or re-upload.
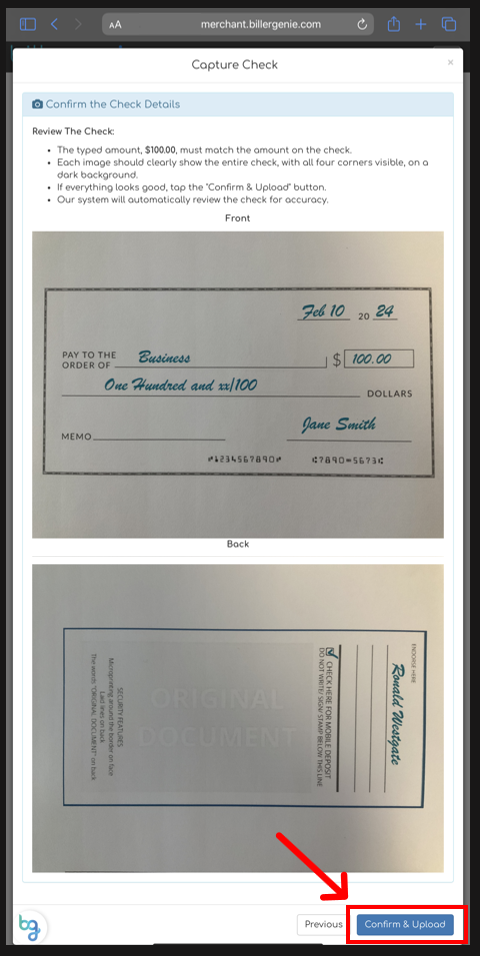
Step 6. Click Capture Back of Check and image the back side.

Step 7. Once both images look good, click Confirm & Upload. Repeat for each check.
Remote Deposit Capture: install
Step 1 — Purchase a compatible MagTek check scanner
RDC only works with MagTek-brand check scanners certified by Biller Genie. Order one from checkscanner.billergenie.com. That link redirects to the current Biller Genie-recommended scanner listing on Amazon — buying from this link guarantees you get a model that's compatible with the BG drivers.
Step 2 — Install the MagTek driver BEFORE you plug in the scanner
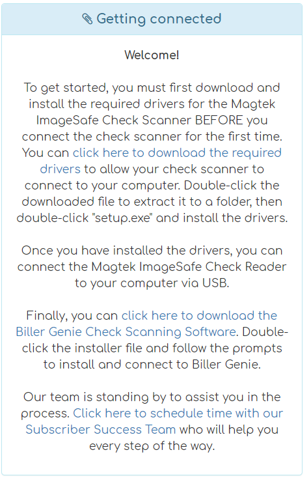
The driver download is available inside the RDC Add-On in Biller Genie (the same link is used by our codebase configuration so it's always the current version). After installation:
Step 3 — Enable the RDC Add-On in Biller Genie
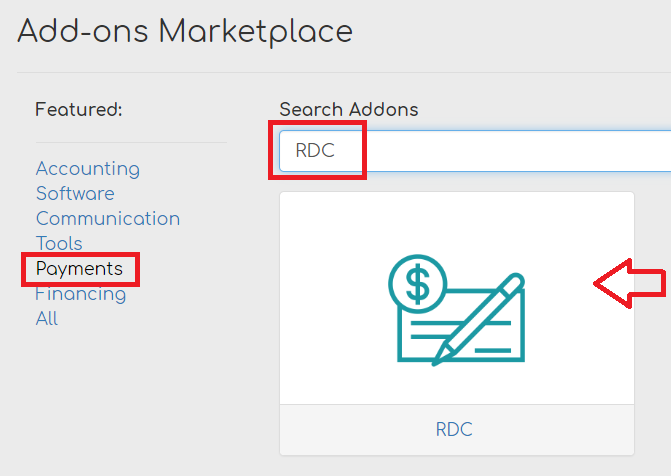
Log in to Biller Genie and navigate to the Add-Ons Marketplace. Select the Payments category (or search for "RDC") and click the RDC tile.
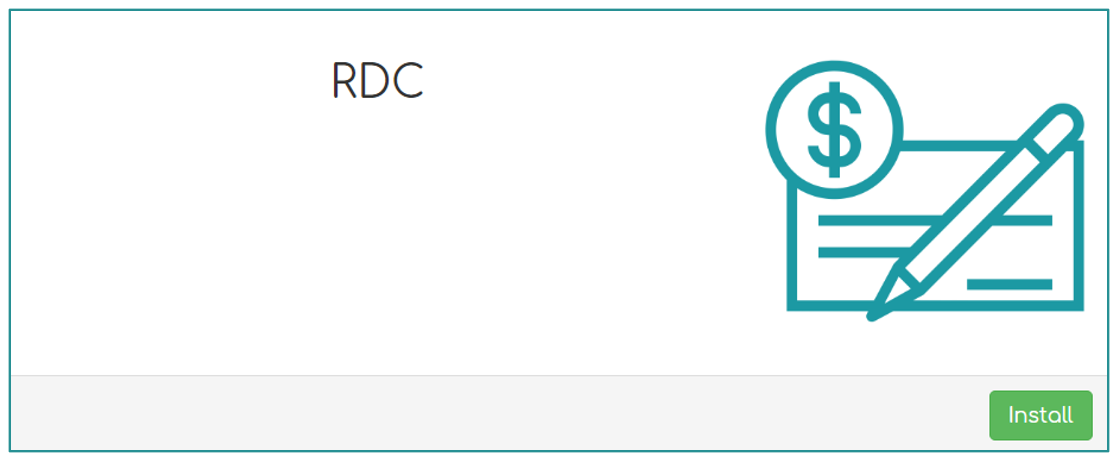
Click Install.
Step 4 — Follow the on-screen RDC setup steps
The RDC Add-On walks you through the remaining steps. These must be completed in order:
- Download the check-scanner drivers (the MagTek install you did in Step 2). Confirm in Device Manager that the scanner shows up under the MagTek driver, not a generic Windows one.
- Plug the MagTek check scanner into the computer's USB port.
- Download and install the Biller Genie Check Scanning Software — the Windows companion app that talks to the scanner and uploads images to Biller Genie.
Step 5 — Connect the scanner using the Connection Code
Once installation is complete, a Connection Code displays inside the RDC Add-On. Enter this code into the Biller Genie Check Scanning Software to link the scanner to your Biller Genie account.

If you have multiple users who need to capture checks, the same Connection Code can be used on multiple devices — install the Check Scanning Software on each, enter the same code, and they're all connected to the same Biller Genie account.
Recovery: if Windows installed a default driver first
If you've already plugged the MagTek scanner in before installing the BG driver and the scanner isn't working, do this:
- Disconnect the scanner. Unplug the MagTek from the computer.
- Uninstall the Windows driver. Open Device Manager, find the entry Windows created for the scanner, right-click it, and uninstall.
- Reinstall using the Biller Genie installer. Re-run the MagTek driver installer from the RDC Add-On in Biller Genie, then reconnect the scanner.
Remote Deposit Capture: capturing a check
Best practices before each scan
To prevent scanning errors:
- Confirm the check is free of staples, tape, folds, or major damage.
- Verify the written amount is legible.
- Confirm the amount you're scanning matches what you intend to deposit.
Scanning
Step 1. Insert the check into the scanner right side up, with the front of the check facing the inside of the scanner.
Step 2. Open the Biller Genie Check Scanning application and enter the dollar amount of the check.
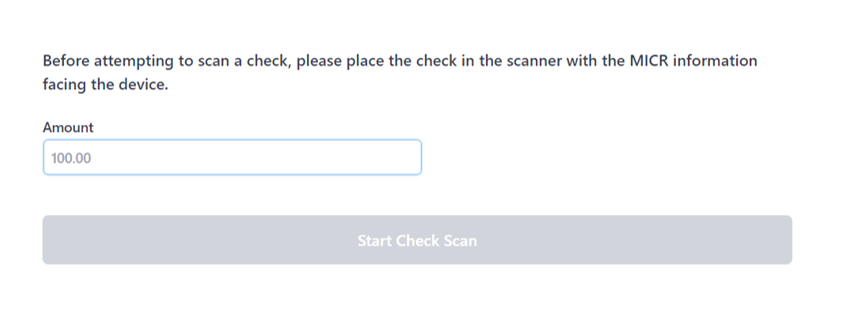
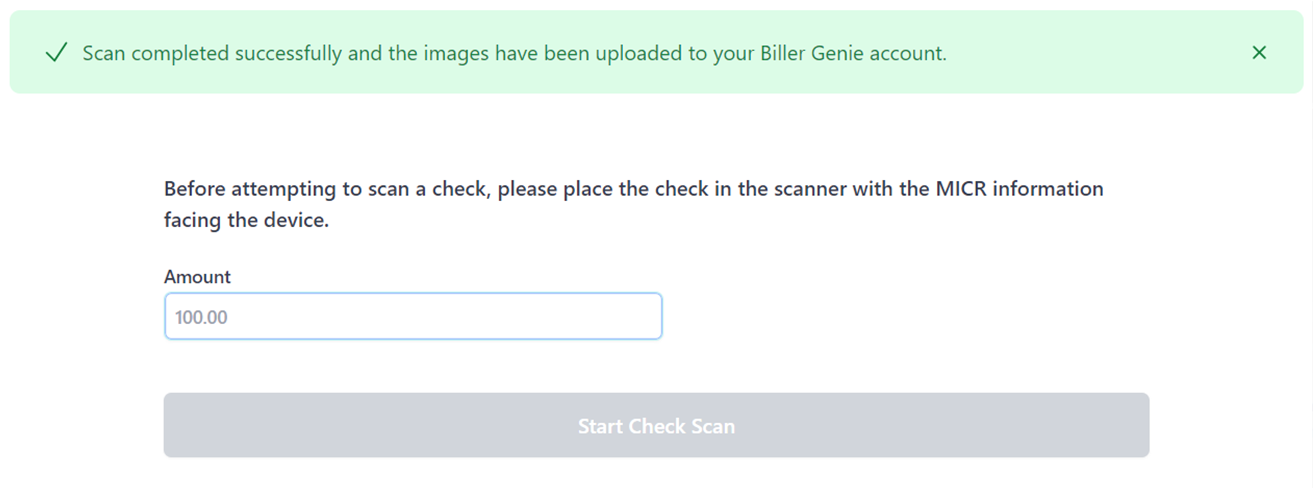
Step 3. Click Start Check Scan. If the scan is successful, a confirmation appears at the top of the screen.
Step 4. Repeat for each check.
Next: process the captured checks
Captured checks (from either method) sit in the Add-On view until you process them. Processing is where you match a captured check to an invoice (or record it as a standalone transaction) and submit the payment. See Processing a Check: Matching, Standalone, and Sync.
Still having trouble?
If the scanner isn't recognized, the Check Scanning Software won't launch, or the camera won't open on mobile, contact support@billergenie.com with:
- Which method you're using (Mobile or RDC)
- For RDC: scanner model, OS version, whether you completed driver install before plugging in, and your Connection Code if available
- For Mobile: device type (iOS, Android, or computer + browser)
- Any error messages displayed