
Biller Genie can securely store your customers' payment methods — both credit/debit cards and ACH bank accounts — so you can charge them on future invoices, set up Auto Pay, or run scheduled payments without re-collecting payment details each time. Cards and ACH follow the same merchant-side workflow, with one important difference: ACH requires customer authorization (an electronic signature or your own attestation that you've collected authorization outside Biller Genie). Cards don't.
This article covers the merchant-side flow. If you'd rather have the customer enter their own payment information securely without you handling the details, use the customer-invitation flow instead — see Invite a Customer to Store a Payment Method.
Storing a credit or debit card
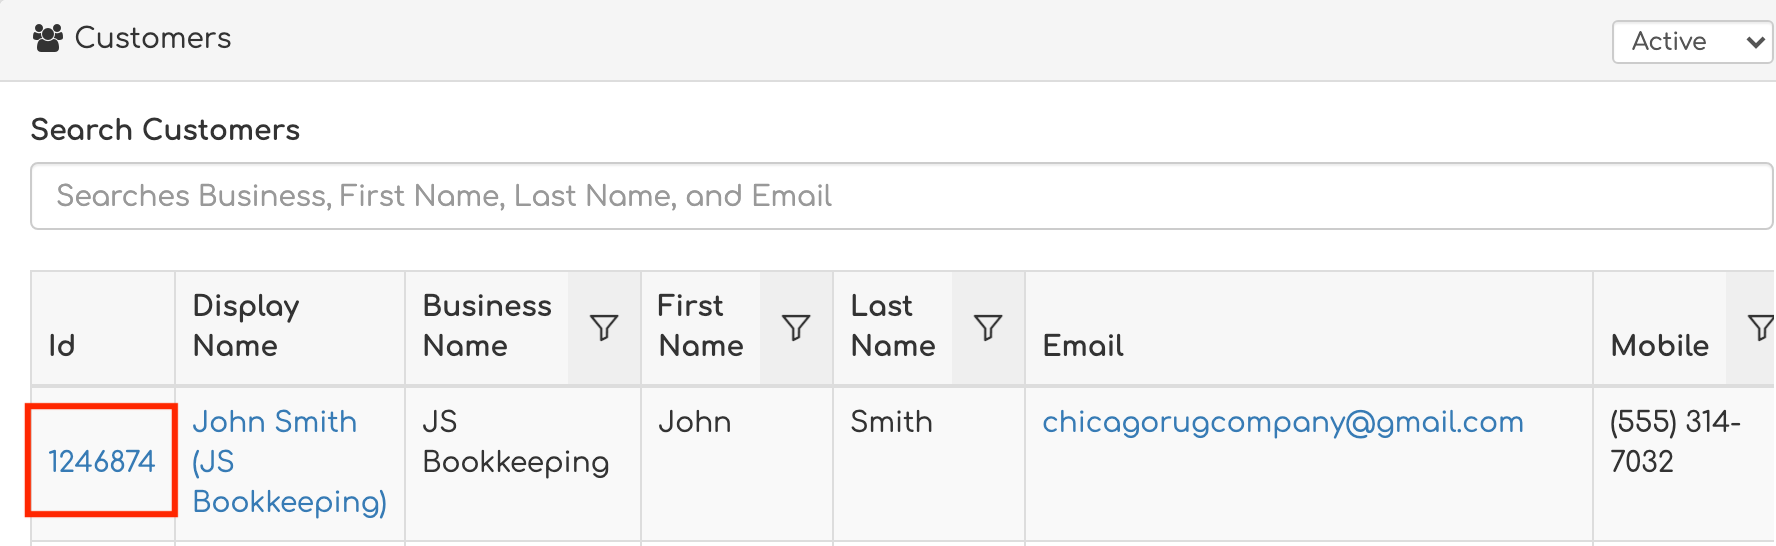
Step 1. Log in to Biller Genie, navigate to Customers, and open the customer's profile by clicking their Customer ID or Display Name.
Step 2. Click the Stored Payment Methods tab.
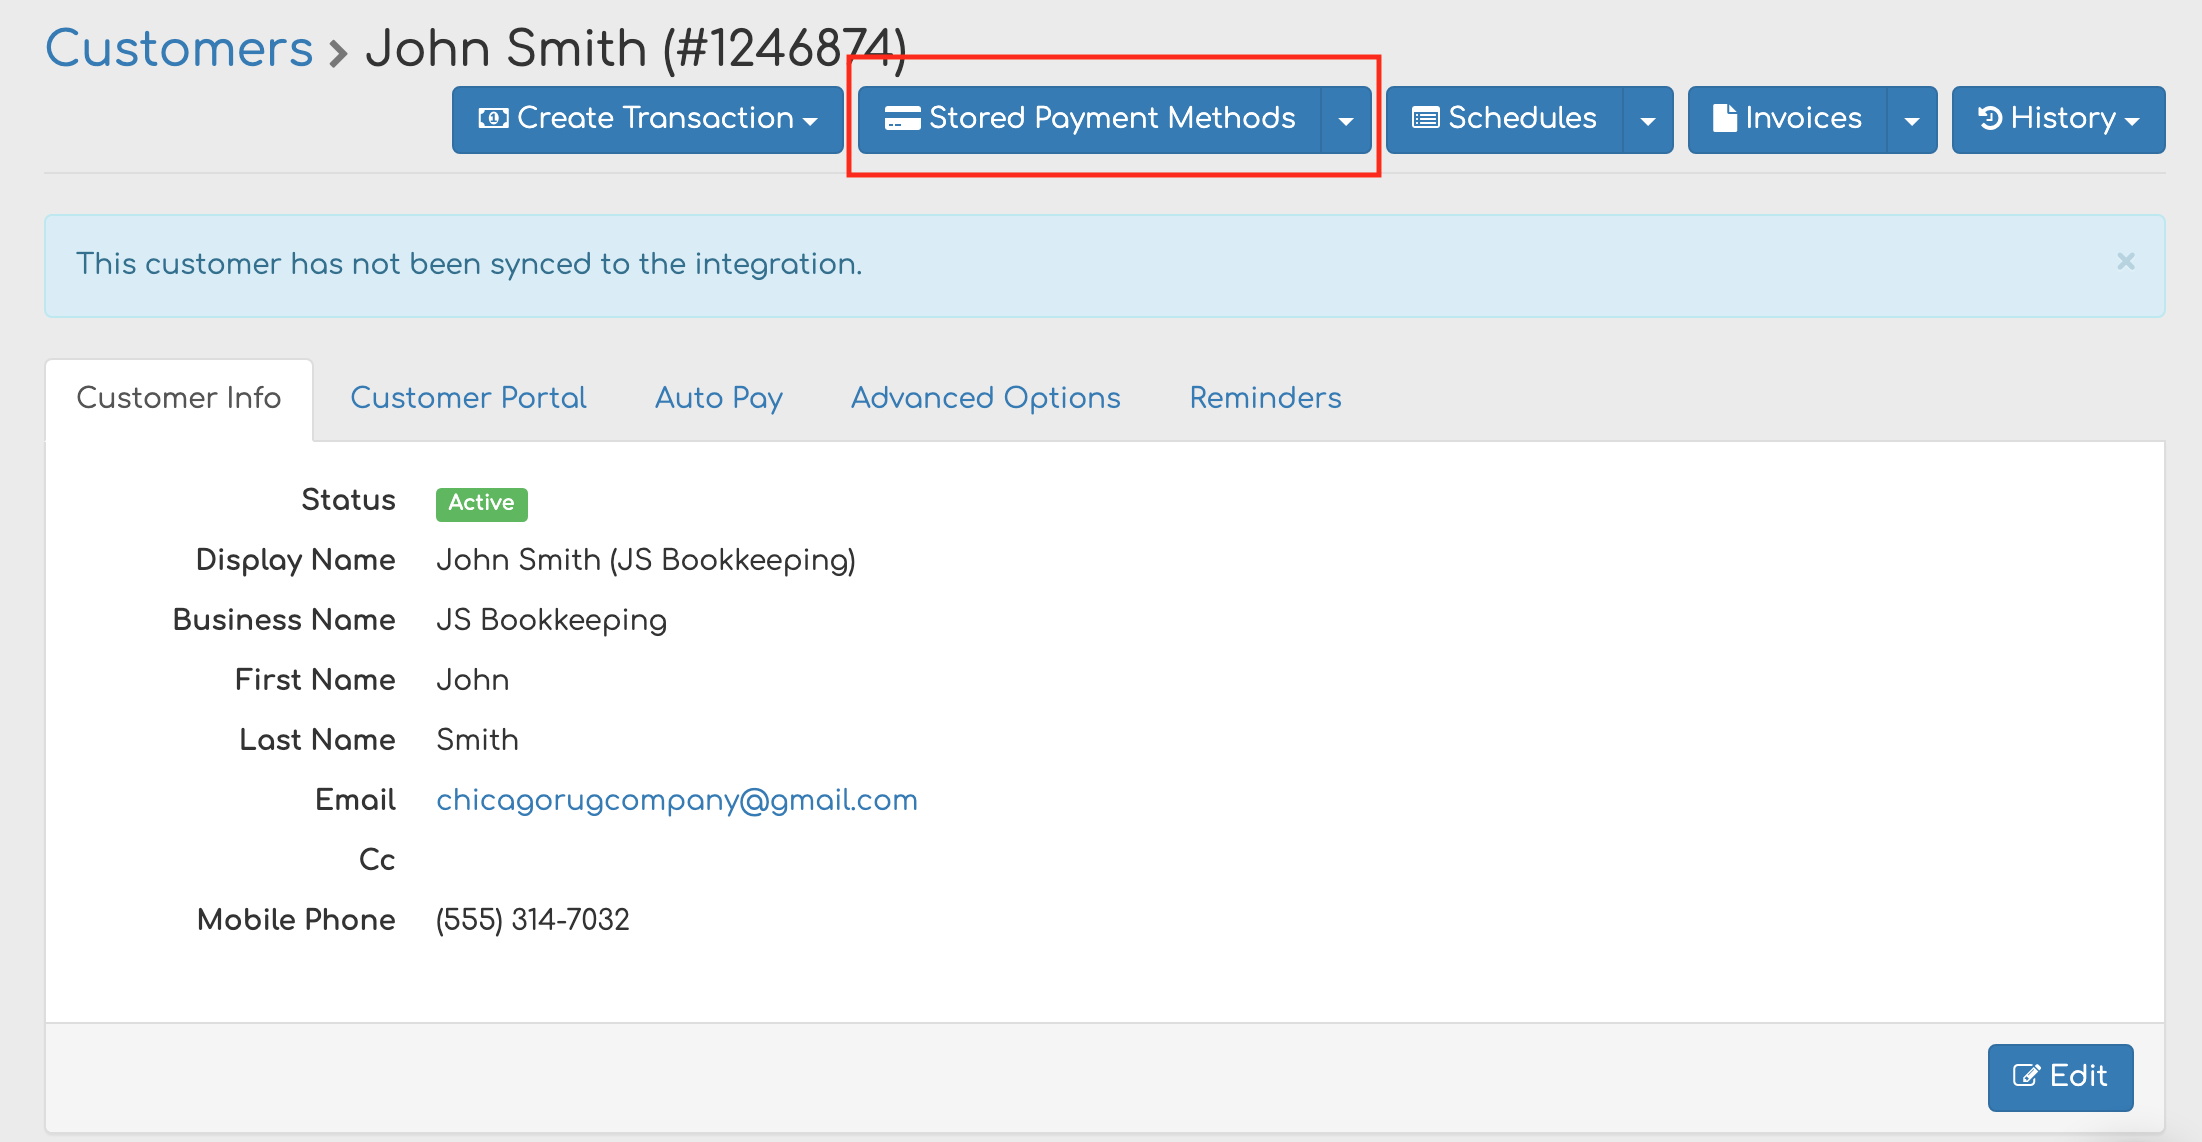
Step 3. Click Add a Stored Payment Method > Add a Stored Card.

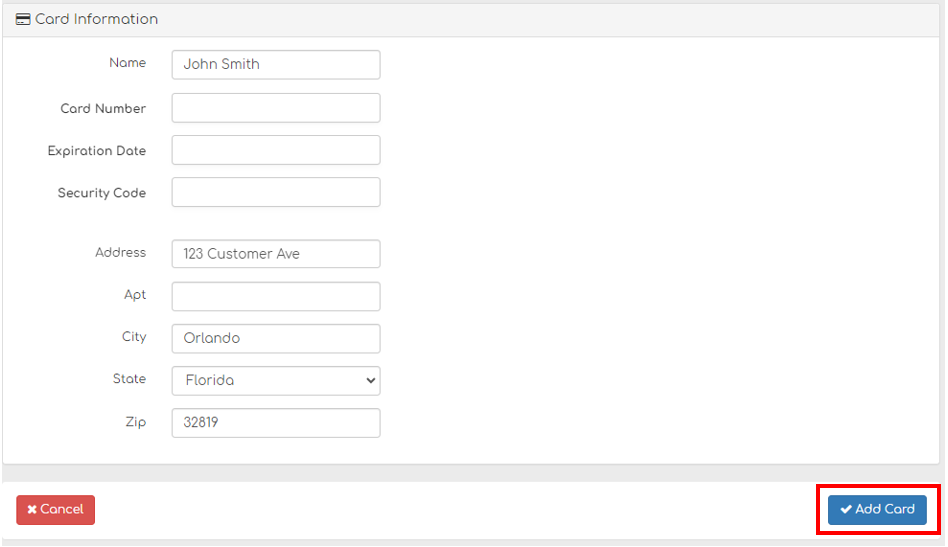
Step 4. Enter the card number, expiration date, and security code (CVV). If the customer's address is already on file, it auto-populates. Click Add Card.
The card is securely tokenized and stored for future use. Biller Genie never stores the raw card number on its own systems — only the gateway token.
Storing an ACH (bank account)
Storing an ACH account follows the same first three steps as storing a card. The difference is that ACH requires explicit customer authorization — a record showing that the customer agreed to be charged. Biller Genie supports two authorization paths.
Step 1 — Open the customer and add an ACH account
Navigate to Customers > [select customer] > Add an ACH Account.

Step 2 — Enter the bank-account details
Fill in the customer's ACH information:
- Account Holder Name
- Routing Number
- Account Number
- Account Type (Checking or Savings)

Step 3 — Choose how to authorize
You have two options. Save and Send is recommended for most merchants because Biller Genie collects the signed authorization on your behalf.
Option A — Save and Send (recommended)
Click Save and Send. Biller Genie emails the customer an ACH authorization request. The customer signs electronically; the signed form is stored securely in Biller Genie. You don't have to keep a separate copy — Biller Genie has it on file in case of a future dispute.

Option B — Self-authorize (merchant confirmation)
If you've already collected an ACH authorization outside Biller Genie (a signed form, an in-person agreement, etc.), you can self-authorize. When you add the ACH account, you'll see an Authorize pop-up confirmation and an Add button next to Save and Send. Selecting this option tells Biller Genie that authorization has already been obtained.

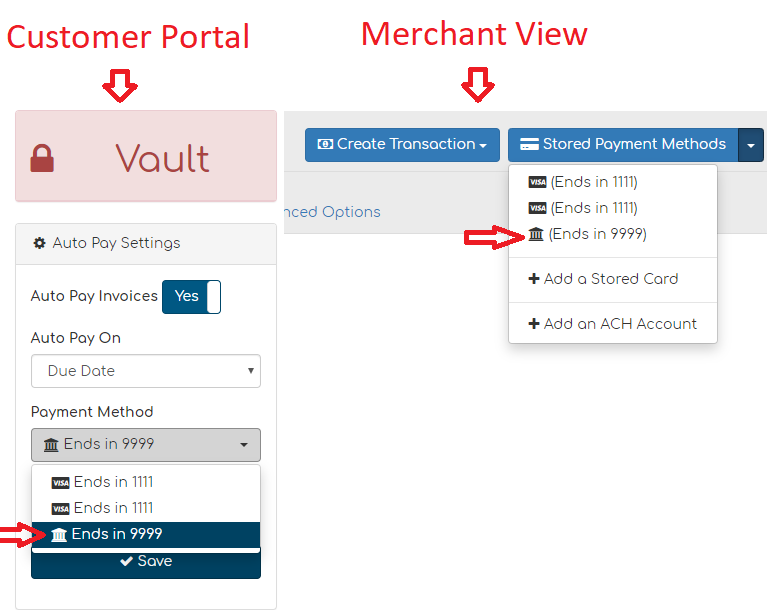
Letting your customer store and authorize ACH themselves (Customer Portal)
If your account has the Customer Portal enabled, your customer can log in and store an ACH account themselves, signing the electronic authorization in the process. This is the most hands-off option from your side. The six-step customer-side flow:
Step 1. The customer signs in to the Customer Portal and clicks the Vault icon.

Step 2. The customer clicks Add Payment Method > ACH Account, enters their bank info, and clicks Save. Biller Genie then guides them through electronic authorization.

Step 3. The customer enters their First Name, Last Name, and Email Address for the authorization record.

Step 4. The customer reviews the ACH authorization form.

Step 5. The customer scrolls down and clicks Next.

Step 6. The customer checks the consent box, types or draws their signature, and clicks Sign Document. The ACH account is stored in the Vault.

If your customer adds an ACH account but skips the authorization step, the account is saved but unauthorized until they complete it. They can return to the Vault and click Authorize on the saved payment method to finish.

What you can do once a payment method is stored
Once a card is tokenized or an ACH account is authorized:
- You can charge the stored payment method for future invoices, set it as the customer's Auto Pay source, or use it in a payment schedule.
- No additional authorization forms are required for future ACH transactions on the same account.
- You can download the ACH authorization form from the customer's profile for your records.
Removing a stored payment method
If a stored payment method is currently assigned to Auto Pay, it cannot be deleted until it's removed from Auto Pay. To delete a stored card or ACH:
- If the method is set as the Auto Pay source, disable or update Auto Pay first.
- Return to the customer's Stored Payment Methods tab and remove the payment method.
Other ways to store a payment method
- Customer self-storage at checkout. Anytime a customer pays one of your invoices, they have the option to save the payment method for future use (see Customer-Enabled Auto Pay in the invite article).
- Invitation link. If you'd rather not handle a customer's payment details, send them a secure link to add it themselves. See Invite a Customer to Store a Payment Method.
Still having trouble?
If you can't store or remove a payment method, contact support@billergenie.com and include:
- Customer name
- Payment type (Card or ACH)
- For ACH: whether you used Save and Send or Self-Authorize, and whether the customer completed the authorization form
- Any error messages displayed